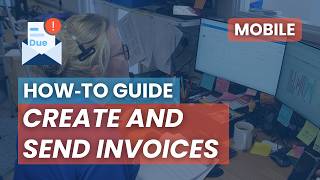
Learn to create, send, and track invoices on the GES mobile app. The tutorial covers starting new invoices, adding line items from templates, emailing to customers, and converting quotes to invoices. Use filters to find drafts, paid, or unpaid invoices, and set up automated reminders through the web portal.
Chapters
By the end of this video, you'll know how to create, send, and track professional invoices on the mobile app. Open the app and tap "New Estimate, Quote, or Invoice" from the main menu, then "Invoice." Choose the job you'd like to invoice or create a new one. You'll now be on the editor screen. Tap the plus icon to add line items. You can enter them manually or use a saved template. Add all required details for each line item. When you're ready, tap "Save" to keep it as a draft or tap "Approve" to finalize the record. Select "Email" to send it directly to your customer, or tap "Preview" to review it first. Check the email details, then tap "Send." If you return to the home screen without sending, the record will sync as issued, but not emailed. If you've already created a quote, you can convert it into an invoice in just a few taps. To track existing invoices, go back to the home screen and tap "Existing Records and Drafts," then "Invoices." Use the filters at the top to view draft, paid, or unpaid invoices. Selecting "Unpaid" makes it easy to see what's still outstanding. For automated invoice reminders, log in to the web portal to turn them on and customize your settings. That's it! Your invoices are created, sent, and tracked, all from your mobile device.