How I Make My Videos [WEBINAR]
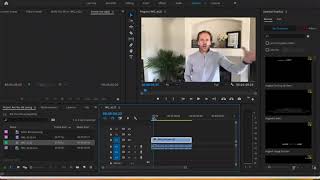
Andy Neary walks through his full workflow for making short branded videos: shoot on iPhone, caption with Rev.com, then edit in Premiere Pro to add logos, banners, styled text, and SRT captions. He says setup takes time upfront, but once configured, editing drops to 10-12 minutes per video.
Questions this video answers
Andy Neary.
About $20 per month.
Rev.com; $1.00 per minute (noted rising to $1.25 per minute on March 2).
Most videos are between one and two minutes.
Chapters
All right, I'm just gonna get started, guys. If you are joining me for this quick, impromptu webinar, thank you. Probably not gonna have a ton of people join, but that's fine. My goal, I'm getting a lot of questions right now. For those who may not know me, my name is Andy Neary. I'm getting a lot of questions right now about how I do my videos. A lot of people have noted the consistency with them, the look.
Kind of the consistency with the look of how the videos go. So I thought I'd share with you guys how I do it. And the important thing here is I want to stress a couple things. Number one.
It is important today. If you are, whether you're an insurance advisor sitting on this webinar right now, or you are somebody who has to sell something, who needs to grab a customer or prospect's attention, you must understand that today it's about the game of attention. You have to grab people's awareness. You have to get people to be. To know who you are, because the only way they can end up liking you and trusting you is knowing who you are. And one of the best ways to create awareness is with video. And so I know in sharing how I make my videos, there's going to be some of you that are jumping on this quick webinar. They're going to go, man, that seems like a lot of work and you're not going to do it. Here's what I'm here to tell you is if you need more business today, if you have to, again, sell, grow revenue, video is probably one of the best ways to create awareness. So for me, editing a video that I'm going to post on a social media platform that might get thousands of eyeballs on it is just as important as picking up the phone and cold calling. In fact, in many cases, it's more important because it could have a wider, bigger impact. So why I thought I would show you this is once you see how I do this, I think you're going to see that it's not as hard. It does take time at the beginning, but once you get it down, it's a very slick way to make your videos look professional. Have your videos give your videos a touch that looks really sharp and it will differentiate from your. Differentiate you from your competition. So with that being said, why don't I get right into it? Couple things, guys. There are two platforms you need to use. So if you want to make videos exactly the way I do, two things. Number one, there are two platforms you need to leverage. I'm going to show you guys Adobe Premiere Pro, which you can see on my screen right now. It's a very cheap tool. It's $20 a month. And so the first thing you'll want to do is buy the Adobe Creative Cloud or you can just go and buy Adobe Premiere Pro. Now, if you have somebody on your team inside your office that can do this for you, that's even better. Truth be told, I do not. So I make my videos myself. But I thought, I think once you see how I make them, it'll help you whether or not you're going to have somebody do them for you or you're going to do them yourself. The second thing is I get all of my captions.
Through Rev.com and so if you are wondering how I put the captions, where I put them, or how I get the captions I get, I use Rev.com for that as a tool. It is a dollar a minute. Just a heads up on I think March 2nd, they're going up to $1.25aminute. But essentially when you take the length of your video. So in my case.
Most of my videos are watching a webinar on how to do Most of my videos are between a minute or two.
Most of sorry, I'm going to mute everybody because it sounds like somebody's working in their office there. Most of my videos are between a minute or two. So most of my videos cost me $2. Edit. So how do I do it? Number one, I'm not going to show you this part. I make all my videos on my iPhone, so all my videos start in the horizontal format, not the tall format for the phone. I make the video once I complete the video. Once it's done, I simply use the imovie editing tool that is on your iPhone if it's on an Android. I know they have an editing tool as well. But all I the purpose of editing the the video on my phone is just to cut the front and the end of the talk end of the video. So you make the video on the phone.
Put the phone in horizontal format, record, edit it by cutting off the front, cutting off the back. The next thing I do is I share the video to my laptop. Now if you're out there right now in my case, I have an iPhone and I have a Mac so I can easily airdrop the video to my laptop. If you don't have that capability, either email the video to your laptop or find a way to get it to your desktop. If you want to edit the whole thing in your phone, you can. It's just a little more difficult, especially with the Adobe Premiere Pro tool. So once the video is on my desktop or my laptop, I bring it here to Rev.com. it's a free membership. You don't need to pay anything to be a part of it. The only price you pay, again is the cost of the editing. You'll notice here I had. It says place new order. You simply click on place new order. It's going to ask you what kind of order you want to place. Here, you're just going to quickly use captions.
Now you go to order the captions. All you have to do. In my case, now that my video is sitting on my desktop or my laptop, I upload the file. I'm not gonna do this because I've already done it for a video. I'm gonna edit for you guys. You choose your file. Now you've got all your files. You'll notice here I've got this movie 6122 from my iPhone. I would then download that. If I click on it, open it, it's now in. And then I would just go to upload and it would start uploading that file into Rev. Now, it's key to remember, and I'm gonna remove and cancel. It's key to remember when Rev provides you with the file or the code or the captions, they are not burning the captions into the movie or into the video for you. You have to do that. I do that in the Adobe Premiere Pro tool and I'll show you how I do that. Once Rev.com is done editing, I'll quickly show you how you pick it up.
So if I go back.
There we go. You'll notice here all of my past files are sitting here. So if I go to click hi, Andy. Go to my order history.
You'll notice I just did a video today that needs to be edited so that the. The captions are sitting right here. Now what I need to do is I need to download those captions.
So if I click on the order number, you'll notice it gives me the chance to download, preview, or edit. I simply download. The beautiful thing about Rev.com guys is they're usually about 98, 99% accurate on their. On their captions. So they do an excellent job. If they are not super busy, you can often get these captions back in 10 minutes. If they're at peak and they're really busy, maybe midday, it can take up to 20, 25 minutes. To get your captions back. But sometimes it can be really fast. So if I click download, this is key, guys, I want you to pay attention here and take notes. It's asking me what type of file I want to download it in. Especially with the Adobe Premiere Pro tool, you always want to download it in the SRT format, the subrip format. So if I click, it's already clicked on the srt. If I download it, it has now downloaded that file for me. So sitting out on my desk laptop now, I've got both the video and I've got the captions waiting for. Waiting to be burned into the video. So next thing I'm going to do is I go to Adobe Premiere Pro now. Now this is where we start having some fun here. Number one, I have got to pull my video and I've got to pull my captions into the Adobe tool. So if I go over here to import media, I double click. It's gonna give me the chance to bring in my downloads. So you've got the 6122 movie, which is from my phone. I import that.
I'm going to double click again. And now we've got the SRT file sitting up here, which is my captions. I import that as well. I'm going to import one more thing. Some of you may notice when you look at my videos behind the colored banners, you see my logos. I will show you how I do that. I think it looks slick, I think it looks professional. So I'm going to pull that in as well. I call it my video backdrop. So now I have three things sitting in my Adobe Premiere Pro. I've got the movie, I've got the caption, I got my backdrop. So the first thing I am going to do is I have to pull the movie into the editing box, which is over here. So if I take the movie and I drag it.
You will see the movie.
Pop up right there.
Now this is a key piece of this editing. Where you want to start with your editing. You'll notice my videos that are on LinkedIn or you notice like Frank Menger or some others who do their videos, they're always in a square format, not the 1920, 1080 that you see right now. So the first thing I do with my videos when I edit is I square them up. So all I have to do is click on the video bar down here.
I go up to sequence and click Sequence settings. And you'll notice under video, it has the frame size currently at 1920, 1080. All I have to do is change this to 1080. 1080. I click OK. It's going to ask me OK again. I click OK again. And now my video is square.
You'll notice, though, that the image of me takes up the majority of the screen because now the video is squared. The next thing you have to do is pinch the video so that it fits into the square, which gives you the top and bottom banners. You see? So let me show you how I do that. Very simple. I click on the video bar down here again.
And I go up to the video and I double click the video, the squared image of the video. All I have to do is with my mouse pad, squeeze the video.
So that now the video is sitting still in its 1920, 1080 format.
But now it's sitting nice and snug inside that square.
And now you'll notice two quick things. You'll notice at the top and at the bottom, you now have the black space, which is the start of my top and bottom banners.
So now I've got to create the banners. The next thing I do is I create the thumbnail that I'm gonna use for my videos. So if anybody is new to the video world, the thumbnail is what you see at the beginning when you click play. It's that image that the video is kind of frozen on that entices you to click play. So what I do is I go down here to my video. You'll see this bar right here that allows me to scroll, let me turn the sound down a little bit. That allows me to scroll across a video. I scroll across to find an image where I might be taking action or doing something that might intrigue you. Maybe something like that. I'm pointing off into the distant path or distant past. This might intrigue someone to click the video because they want to know what I'm pointing at. Okay, so the next thing I do hope everybody's following along here is I'm going to pull my video backdrop in. That's that video or that image of my logos that you see behind my videos. Now you'll notice one thing. I brought the video backdrop in above.
The video. So if I extend it so it comes across that line, you will notice. Now, I've got a square with my logos on top and my logos on the bottom. Now, if you want to know how to do that, guys, that's nothing more than a PowerPoint slide that I squared up. I pasted my logos all over the place and I turned it into a jpeg. Nothing. More than nothing. Fancier than that. So I now have to take this and pinch it out or expand it out so it fills up the square.
Now, you'll notice the issue I have here is my logos are now sitting on top of the video. So how do I put the video on top of the logos so the logos appear? They're sitting behind the video. That is very easy. I come back down here to my video bar and I simply push the video up. And now it's sitting over the logos.
Now it's time to make the banners. I've got the video in there. I've got the logos sitting on top, sitting on bottom. Now I've got to make my banners.
If I go to this tool right here, over here on the editing, we're in the graphics box right now. We've got the editing tools to use. I'm gonna use this pen tool to draw my rectangles.
So if I go here, I've got to draw a rectangle.
Across the banner and I bring it up.
You'Ll notice. Now we have created a rectangle that is naturally the color gray.
You'll notice another thing I did with this rectangle, and I'm gonna cut these again and start over to show you what I just did there. When you create the rectangle that's going to go on top of the banner.
You want to draw outside the lines. You remember when you were a kid, they told you to stay within the lines. Now you're gonna go outside the lines. You want to draw the banner well outside the lines or the borders of the video. And I'll tell you why in a second. So now you've got your rectangle.
When I come over here now to the right to these essential graphics, I now have the choice to choose my color. I have the choice to see if I want a border. So this is now where you start seeing how I choose the colors and things like that for my banners. If I come down here.
To fill and I double click here, I'm just gonna pick a random color. Let's just pick this red. If I click ok, you will now see the banner is red. Now, if you watch my videos, you'll also notice that.
At the bottom of the top banner and at the top of the bottom banner, you have white, thick white lines. I think that makes a nice border for the video. So how I create those is I come down here and I click this box down here called stroke. I keep them at the color white and I always make the thickness, this 1.0, the thickness of the stroke. 20.
Boom. You'll notice right there. Now you've got the red. You've got the red banner. You've got the white outline. And the reason I drew outside the lines, guys, is because there is actually a white border around all four sides. But because I drew outside the lines, you only see the banner at the bottom, which is what I want. If I go back to edit this shape now, the last thing I'm gonna do with the shape is I wanna make the red a little bit transparent so you can see my logos underneath. So if I come back here to Essential Graphics, I go to this transparency button right here. It looks like a checkered flag. If I make this, instead of 100%, let's see if I make it 97%.
Now. You'll slightly start to see my logos underneath that color red. That's how I create the transparency and the color so that you can view my logos underneath.
The cool thing now is now I'm gonna go draw the bottom banner. If I come down here, I still got my square, my rectangle tool. You'll notice something. As I start drawing this.
My color and my stroke color are saved from the previous shape, previous rectangle, so I don't have to go back in and create the color again. All I've gotta do with the bottom banner now is go to 100, turn it to 97, just like I did the top banner. And now I have my top, my bottom banners. Now we're starting to see things. The colors and everything start to come out. Now I need to create a title.
This is now we come where? We come back to the editing tool over here, and I go to this type tool, letter T.
If I draw this across the top banner and come down the right side, you'll notice I created a rectangle of which to draw or write my text.
Now it's time to type the text into that rectangle. So I come over here again to Essential Graphics. First thing I'm gonna do is come down to text. This text box right here. I'm gonna click center. That's gonna center my text on the banner. I'm gonna scroll down. The fill for the font is white. In this case, I'm gonna use the stroke color. Let's use black.
And now we've got the stroke. Just like I created these white lines, you're gonna have an outline of your font or your typ.
When I create my letters or my font or my titles, I always set the stroke. Instead of 1.0, I set it to 12.
The last thing I'm going to do is choose the font I want to use. I have kind of fallen in love with the font impact. I think it looks sharp. So now I've got my font, I have it centered, I've got my color of the font, and I've got the outline. I'm going to just simply type test in. And you will notice it created a banner. White font, black outline. We have one slight issue. You'll notice the font is at the top of the banner, not in the middle. To change that, I'm gonna come up here where it shows the box that says align and transform.
And I'm going to.
Play with these two numbers right here. This 37 allows. That's the X or the. Yeah, the X, I think. Yeah, the X axis. So that 37 is where I can move the font left and right. This 18 is the Y axis where I can move the font up and down. So if the. If the Y axis is currently sitting at 18, watch what happens when I change it to say 55. Boom. Moves it down to the middle. And now I've got a title sitting in the middle of the top banner. The last thing I have to do is come down here, create another title for the bottom, doing the same thing, dragging it across the top, dragging it down the right side. And now you'll notice when I come down here to the X and Y axis, the numbers are a bit different. They're a lot higher because now we're dealing with the whole image. So now because we're at the bottom of this video, the bottom of the image, the number is much higher. So instead of 893, if I enlarge that to say 925.
Oh, I forgot. I have to type.
I have to actually type my.
Text and I need to center it. If I type 925 again centers the text. So you'll notice now we have a banner and font and title at the top. We have the banner on the bottom with the font on the bottom. The last thing you have to do with your thumbnail gang is just go to this camera right here and click that. Click. Ok. And that creates your still image. That is your thumbnail and it's saved over here.
Now, I know that sounded like a lot. For those that are on the call, I'm recording this as well. So if you want a recording of this, just reach out to me. I'll put my email address in the. In the zoom at the end here. So now we've got to actually create the captions it's time to burn the captions in. We got our thumbnail. What I do here, guys, if I go back to editing my video, I'm circling this right now. You'll notice a couple things. My video is about a minute and 50 seconds long.
But that graphic and that graphic aren't long enough right now. They're not extending to the length of the video. It's an easy fix. All you got to do is extend it to the end, extend it to the front, and it's nice. It kind of snaps into a line with the video. And you do the same thing.
Right here. Extend this. Extend this to the front. And now you have the banners and my logo backdrop that now will extend the entire length of the video. What I do to simply bring this back is I knock everything back down one level because I got to put my captions in.
First thing I do pay attention to this here is I go to my title, where my titles are. I've got Test 1, Test 2. I'm going to eliminate the font in the bottom banner by cutting it, because that's where my captions are gonna go.
And now I've got to burn my captions in. So if you'll watch, I'm gonna hit play.
And I. It's. This is a little testing you've gotta do While you do this. I wanna line up right there. That's when I start talking. So that's when I wanna line up my captions. So I'm gonna go over here, and I'm gonna drag my captions in, which is this SRT file. And I'm gonna drag them in and line them up with where that line is right now.
Now go back and look at my video. You'll notice a couple things. My captions are in, but you'll notice they're in the middle of the video. I have to get them down here.
The easiest way I have found to move these is if I go to my.
Captions, which are now here at the top of the editing tool, and I right click scale to frame size.
They bring them down a notch.
Now.
All I'm gonna do to bring them down to the bottom is go back in and right click again. Click, set to frame size. And one more time, scale to frame size. And you will notice the captions are now at the bottom of the video.
Now I just have to tweak the font. I just have to elevate those a little so they're sitting in the middle of the bottom banner. How do I do that? Well, if I Double click my captions in the editing box here. You will notice over to my left.
All my captions have pulled.
Okay. If I right click and select all, any change I make now will impact all of the captions throughout the video. So the first thing I'm gonna do is I'm gonna go to the font and change it to impact. I want the same font I have for the titles. I'm gonna go to this box right here, which is the background color. That's the black you're seeing behind the font right now. I actually want to get rid of that. So instead of it saying 100%, I'm just gonna have it say zero. That gets rid of the black background. Now we need to increase the size of the font because it looks pretty small. Right now. That is sitting at 18. If I make it 35, that's probably a bit too big. Let's make it 30. Now we have a much larger, easily readable font size. And the last thing we do is we want to make those two lines there in that font come together a little closer. So if you go over to the line spacing, you'll see it's sitting at 50 right now. If I make that 30, you'll notice it brought the top line and the bottom line of the caption a little bit closer together. The last thing I'm going to do is create a black edge around the captions, just like I did with my title. So if I come back down here, this outline of a T here, the edge color, I'm gonna click on that, click on the box.
I want black to remain consistent. If I click OK, you'll notice the edge number here is 3. That's the edge or the outline of the font. Personally, I think if you Keep that at 3 or 3.5, it looks pretty good.
Now, the last thing I really have to do here is center this font so that it looks like it's in the middle of the bottom banner. Okay. If I come back to the editing box of my captions, you'll notice I'm circling the X and the Y axis again. So just like my titles, I now have to create the X and Y GRA axis for my captions. They're already centered, so I don't have to center them. But if I go to the Y and I Type in.
83.
You will notice that it lifted my font up to the middle of the bottom banner.
Now, from this point on, what I do is I watch the video.
And I want to show you something. You'll notice When I get whoop right there, you'll notice that once I get to a caption where there's only one line, it's distorted. It's at the top of the banner. The last editing I've got to do of the captions is two things. Number one, I see that this banner is not centered because I centered the two line banners. Now I've got to center the one line captions. So I go through every.
One line captions. So there's the first one. And you'll notice it's sitting at the 83 that I typed in. I need to probably make that 86.
Oh.
And why isn't that working?
Nope, for some reason, this is not working now, folks. But what you do in this case twofold, number one is if the banner, the one line banners are sitting at the top of the banner at the one line captions. Excuse me, are sitting at the top of the banner. You just need to make this a larger number and it's gonna send it down on that Y axis to put it in the middle of the banner. And then the last thing I need to do is as I go through the video, you'll notice if I come back to this one, it's a little too big as a one line caption. I need to probably turn that into a two line caption. So if I go to this caption right here.
And I click maybe before the word to it turns it into a two line caption and it's already centered.
And then last but not least is I've got to insert that thumbnail into the video to start the video. So when I go, if I go back to my video over here, all you have to do in this step to insert the the thumbnail is I'm gonna back out my backdrop.
And I'm gonna come over here.
And I'm gonna insert that still. Let me show you how I did that again.
Come back over here. Drag the still right there, right on that same line as the video backdrop. Now, I want to shorten the length of that thumbnail. I want it to be on just for a half a second so that when you click play, it goes right to my video. All I've got to do to do that is shorten the length of the thumbnail.
The next step, because I don't want any overlap, is I take my audio, line it up with the end of the thumbnail, I take my movie, line it up with the end of the thumbnail, my titles, line it up with the end of the thumbnail. Last but not least, I've got to bring this backdrop back in to line up with the end of the thumbnail. So if I go to the beginning, there's my thumbnail. If I click play.
Goes right to the video.
Thumbnail, click play, goes right to the video. That's the purpose of the thumbnail. Simple. It's a jpeg. You just insert it, shorten it so it's a quick thumbnail and have it go right into your video. Now that you've got all this done, you've got your captions in, you've got the video ready to roll, the last thing you have to do is export that video. You simply come up to the top line here, go to edit, or, excuse me, to file, come down to export, and you are simply going to export media. Click media.
And now I'm at the exporting tool. The only thing I have to do at this point is come down here, click export.
And it is exporting my video for me. It might take 2 minutes, 3 minutes, 5 minutes, depending on the length and size your video. I'm gonna click cancel here, but that's it. At that point, once it's exported, you should have that video sitting on your desktop. Then you can simply put it into LinkedIn, put it into Instagram, Twitter, whatever you use as a platform. I know that sounded like a lot, guys, but trust me, once you start playing with this, once you start getting good at this, it used to take me at the beginning probably a half an hour to edit a video. It now takes me 10 to 12 minutes. Very simple process. A little harder to actually do it step by step while walking you guys through it, to be honest with you. But point being, guys, this is how I create my videos. It's a simple way over time to stand out. Whatever you choose to do with your videos, guys, I urge you to be consistent with them. Show up every day or at least consistently with them, whether it's twice a week, three times a week, or daily. But the more consistent you can make your videos with the look, it's just going to resonate with your audience more and it's going to gather more engagement around them. It's going to gather a bigger following around them. So hope this helps. Guys, I'm going to quickly check, I don't know if anybody had any questions. Just going to look at the chat box quick to see if somebody had a question.
Somebody wrote, I download the video from icloud to my desktop. That's perfect. All you need if you're going to use the Adobe Premiere tool. All you need to do is have that video somewhere in an MP4 format that you can drag in or import and drag into the Adobe Premiere Pro tool. So it doesn't matter where you're pulling it from, as long as you can get it to your desktop or your laptop, you're fine. So I'm gonna type my email in quick, guys, my email address.
If you guys have any more questions about video or how to do this. Like I said, I know it seemed like a lot.
It is a lot at the beginning, but I trust you. I promise you that if you put the work and the time into this. I personally believe today, with as much noise as there is in our industry and how much we have to stand out, more than we ever had today, this is worth the time and the investment to use video to make yourself stand out amongst our peers and as well your prospects in your local market. So my email is sitting there, guys, if you have any other follow up, just shoot me an email right there. I'm happy to help, but thank you for attending. And again, I've recorded this video, so if you want it, shoot me a message and I'll send you the recording. Take care.
More from Andy
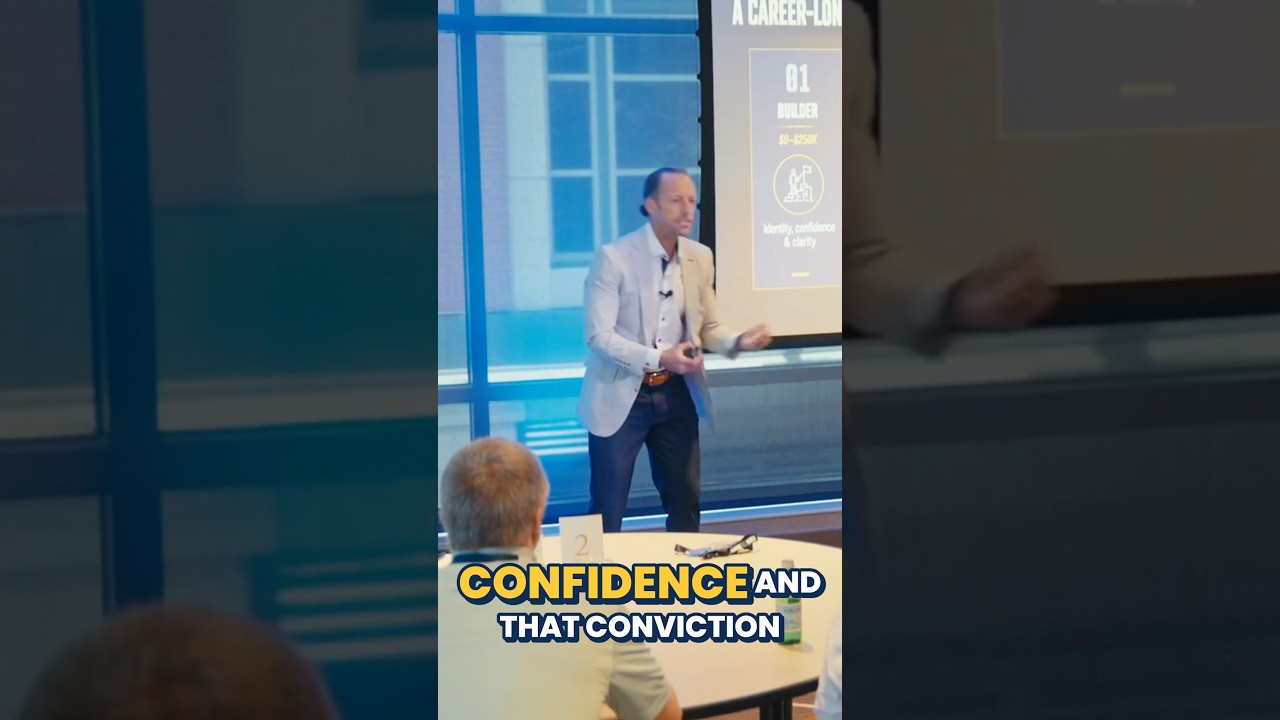
If you want producers to succeed faster, help them create a sales message that creates confidence.
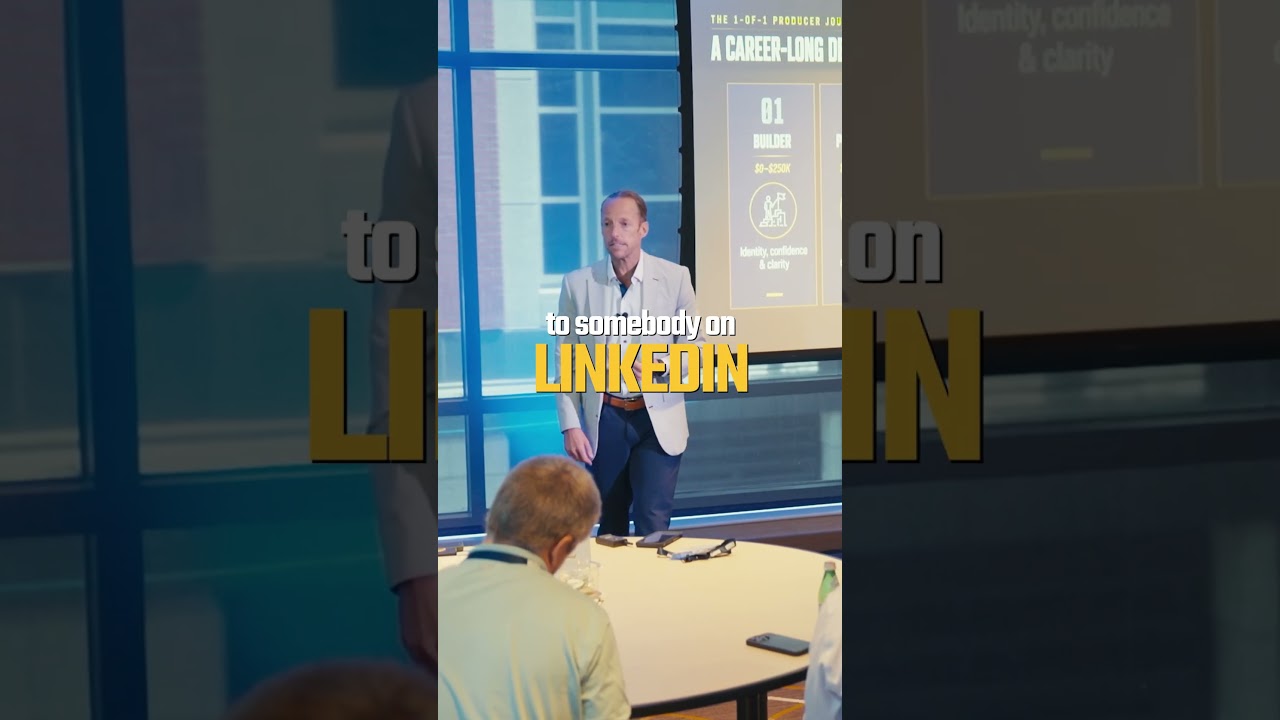
Sales isn't a zero-sum game! You can have tough competition and still grab a beer after

Option 1: Meditation, a fast walk, a podcast, and protein. The ultimate morning routine!
How you do one thing is how you do everything. Ill elite producers fuel their body.

Stop living in the gray of maybe! Your job in sales is to get a clear yes or no