In this tutorial Jeremy Mura reveals Framer's newly launched shader feature and showcases a free, community‑created library of ready‑to‑use shader presets. He walks viewers through the UI workflow: opening the Insert menu, selecting a shader, and switching it to absolute positioning so it can fill a page background or sit inside a component. Jeremy demonstrates how to customize each shader’s visual parameters—brand colors, opacity, warp, fringe, blur, distortion, curvature, angle, and more—using the built‑in sliders. He highlights the logo shader, showing how to upload an SVG, apply a gradient or frosted‑glass effect, and replace a static PNG logo. A rapid tour of many shader types follows (Liquid Gradient, Bands, Lines, Wave, Lego‑style, Fluted Glass, Blockify, particle/sun effects, space portal, etc.), with tips on mixing multiple shaders, adjusting geometric patterns, and achieving subtle or bold looks. Jeremy points viewers to his free library (link in description), encourages copying and sharing presets, mentions other community libraries, and promotes a one‑month free Framer Pro trial with a code. The video’s purpose is to empower web designers to add dynamic, customizable visual depth to their sites using Framer’s free shader tools.
Chapters
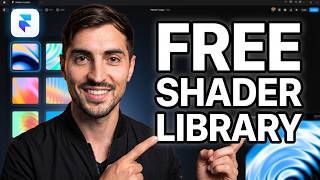
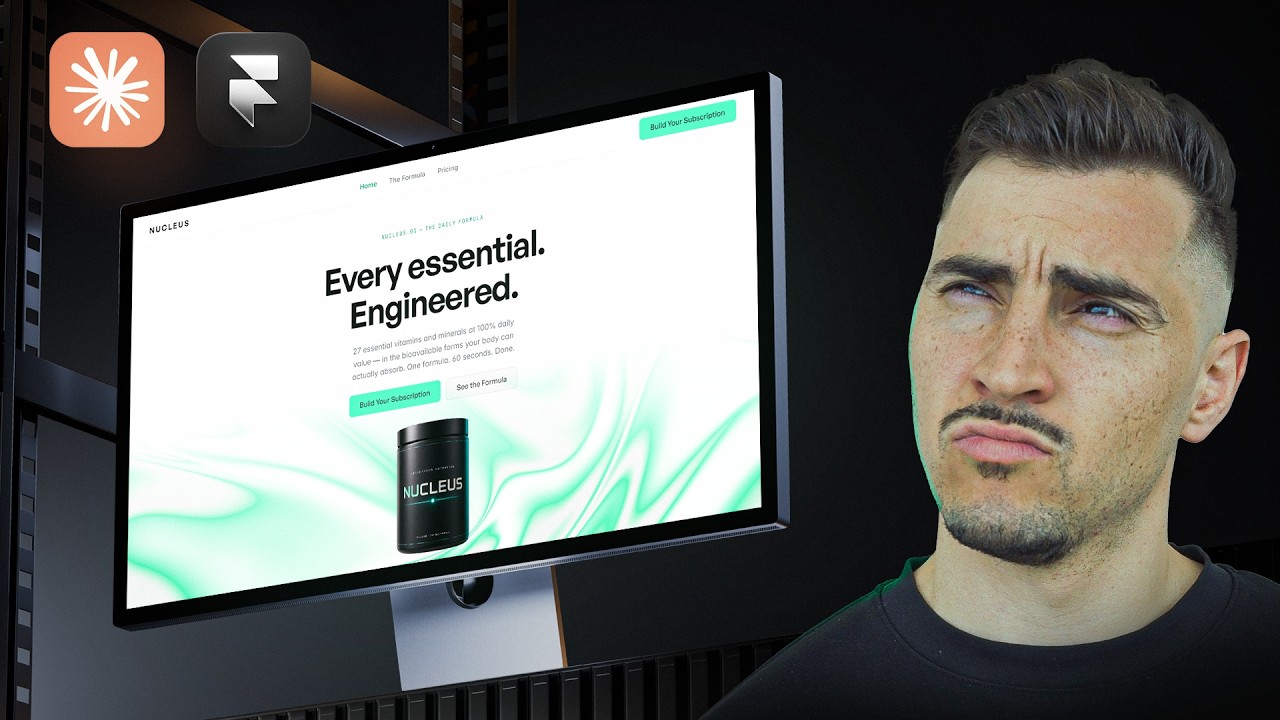
This is the best kept secret other designers don't want you to find out. Framer just launched something called shaders. Shaders can help you elevate the look and feel of your website. You can create really cool backgrounds, animated or non-animated, different styles. And I actually created a whole library of them that you can have completely for free. I will put a link in the description. They're hyper customizable, so if you have your own brand colors, you can drop them in. So once you jump into Framer, you wanna click on the insert button at the top left and go down to shaders. Now you'll get a list here of different ones. You've got Liquid Gradient, you've got Bands, Lines, Wave. You got a whole bunch of different ones. Even this one that looks like a Lego, which is cool. You can see this is what you can actually do. You can actually put it behind your hero section or any part of your website really. And the way I did that is I have the shader on the left. You can see Rings, and I put it to Absolute. And then once it's in Absolute, you can move it around anywhere instead of relative, because relative it'll just keep it in the section. But because you want— I want to fill the whole background, you can change it, the type to absolute position. And then we can press preview. And then now on the site, that's what it will look like. The way I like to do it is to have multiple so I can test them out. So I created all these cool effects. And so there's infinite possibilities of what you can actually do, and I think it's really fun. So I'm in my own portfolio site, and I want to add the shader to the background. And we can see that's what it looks like. Looks really nice with that line design. It is a bit too bright, so what I will do, click on it and just drop the opacity down to make the effect more subtle. And I'll press preview, and we can see my personal site here, the nice background. And that's one way I would use the shader as well. I'm gonna go inside of my footer component and I'm gonna bring my other shader in here. And so now let's go down to the footer. You can see I've got that shader in the footer. Looks really cool. One other cool thing is you can go to shaders and do the logo shader and you can upload an SVG. So I'm gonna locate my personal logo and there we have it. You can see it made into a cool gradient. I'm gonna change it to my brand colors. So we've got this like lime green, and then— and I want to do the glass version. And we can turn the opacity off on the background here, and then we can bring that in. So instead of having just this, uh, PNG, I can drop this in here, and I'll hide the other image. Now you can see the logo there, the glass Frosted Logo. Press play. You can see the logo there, looks really cool. I'm gonna go back to the shaders and let's go with Fluted Glass. And we can upload an image and we can change it to curved or cosine, which will change the effect. As you can see, the detail changes. You can also change the waves. You can do zigzag, you can do, um, seg— AR, I don't know how to say that. It's called Circular Pattern Effect, but we can stick to bars. And you can increase the amount here. You can change the curvature if you don't want too much blur and effect. You can distort, you can decrease that, you can add blur as well, and then the frost effect. And you can create something like this in a few seconds just by playing around. You can see I've created a whole bunch of different ones here that you can just copy and paste, and you can create a whole bunch of different effects. Some are just images, pixel effects. You can even add a logo, for example, and add a nice square or hex effect on it. I think it looks cool. You can add this one, which is Blockify, and it's got a square Lego style. And this one's really fun because you can play around with make it really small, make it really large. And it works really good with geometric shapes and bold colors. And you can change the angle as well of it, so you can get some really cool effects for that. And then here's a few wave ones that I had fun with. So there's sun effects. This one is like a space portal effect particles that you can make like snow, which is really fun, and do like space particles if you want like a subtle background. Each one will have different sliders, so keep that in mind. Um, they might say different things, like this one for example has warp in it and fringe, and they just do different things. So it might seem technical, but once you play around with, you'll start to see what the effect, uh, will do. And so the best thing to do is just play around and explore. So that's Framer shaders. I think this is super fun if you're a web designer and you want to add more complexity, more fun, make your websites look more creative and interesting, then use Shaders because it's a free tool in Framer. And I'm sure there's other libraries out there. I've already found a few other libraries, uh, for example this one here, um, it's got a few cool effects as well. So people will probably make lots of different effects. Rave Laser, that's pretty cool. You can just click on it, copy this, and I can drop this in. So you can share with other people if you find something and people share it, you can do that. And, uh, we can change the colors here. I think that's really cool. Just chuck it on a— that's mad. So if you wanna try Framer, you do get 1 month of Pro for free. I will put a code and a link in the description below. I'll also share my free library of those ones so you can see some examples that I created, uh, for free as well in the description below. Let me know what you make. I think it'll be cool to see what other people are making with the shaders. If you wanna see some of the best portfolios of 2026, then check out this video here. If you want to see my comparison of Framer versus Webflow, I did a full video on that here. You can watch it.