This content was created by Jeremy Mura. This content was uploaded by Jeremy Mura. This is a YouTube tutorial titled "I Make My Own Design Tools with Claude" (published/edited 2026-08-07) featuring Jeremy Mura. In the video Jeremy demos how he builds internal design tools using Claude Code and an open-source UI starter called Toolcraft (from the Pixel Pointe/Alex ecosystem). He walks through running the starter (npx, React/Tailwind), then demonstrates several tools and workflows: a gradient randomizer, a pixel/pixelation/dither/ASCII image editor, a sticker/vector-to-sticker creator, exporting (PNG/JPEG, 4K), applying textures, and using integrations (Vercel/Supabase) to persist state. He also shows using Claude models (Opus 5, Fable 5) for planning, voice commands (Ctrl+D) to ask the tool to debug/fix features (outline, fill, drop-shadow offset, add fold effect), and mentions using outputs in Illustrator/Photoshop/Figma and for client brand guideline assets. The clip is instructional and aimed at designers/developers wanting to prototype or generate UI/tool assets quickly.
Chapters
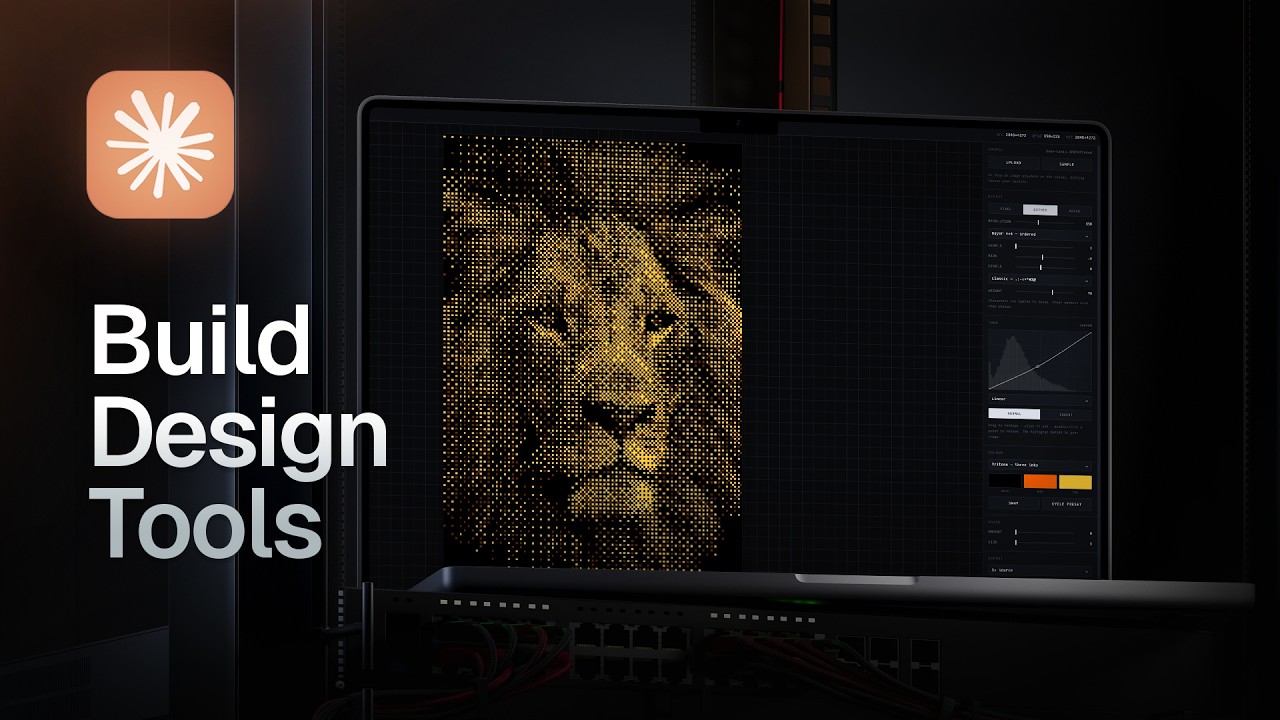
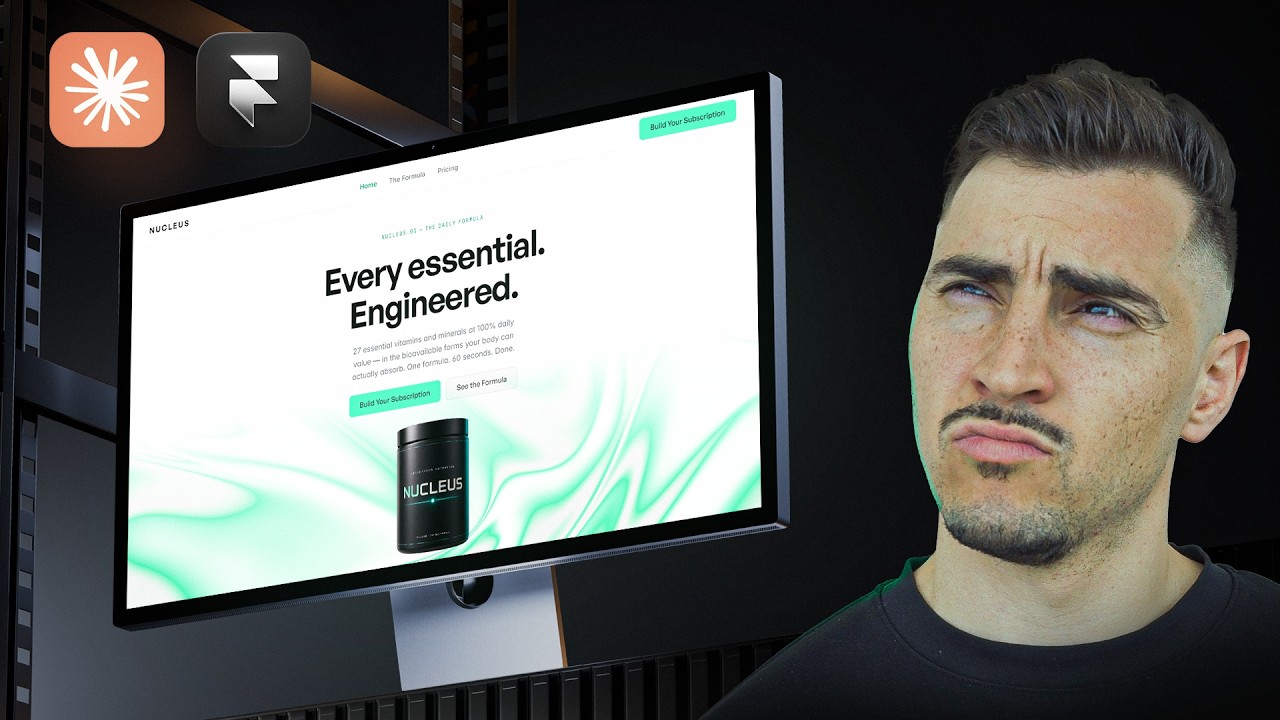
I'm going to show you how I build internal design tools for my own personal projects or client projects using Claude Code. You will need a Pro plan or a Max plan because the free plan, you'll just run out of credits. This YouTube channel Pixel Pointe, run by Alex, he runs an agency and he actually created this thing called Toolcraft, and it's basically a starter open source starter UI kit, and you can use it to put it into Claude and it will design the nice UI and elements for any tool you make. So if you're making, you know, bricks, shaders, watercolor, and/or design the workspace, but you have full creativity of what you want to create. It just makes the, you know, the layers and the toolbars all nicer because they've used it for their tools and real clients. So all you got to do is just copy this code here and you want to go to Claude Code and start a new session. You want to go to the bottom and just paste in that code. So it should be npx and then it will point to file. And basically it uses a few tools that they've got embedded like React and Tailwind, and a few other things. And while that's running, you can see some of the cool stuff you can make. So I've made this, uh, gradient randomizer. So, um, it's a gradient tool. I can press spacebar or randomize. I can change the color to complementary, monochrome, you know, wide spectrum, whatever you want. You can click on the colors and, um, customize the colors to whatever you want. So you can full play around with it. You can change the rotation. You can also play around with stack, halo, pivot, ribbon, or scatter. And you have full control over all these settings here. We can also change it to conic or radial. And so we can fully play around with this, and I can randomize it. And then we can change the overlays and we can shuffle the shapes, and then we can also add a bit of grain as well. So we can change the size of the grain, the amount, and then we can change— fill the other details. Then we can export it. Like, let's say we want 4K, I can export it as a PNG. It's going to download that into my desktop, and now I've got this texture, and then we can bring it into Illustrator, Photoshop, whatever we're using. Figma, it works locally on my computer. Um, so if I do close it and, you know, refresh it, it's going to reset unless you connect it to something like Vercel or Supabase to save all that. But this is just a quick way to generate things or give it to your client. Another cool one is like a pixel creator or editor. So I'm going to click upload, upload an image. Let's say we want this lighthouse image. I can change it to pixel, dither, or ASCII style. So let's say we just want like a, maybe a dither effect. I can increase it. We can change the levels, we can change the bias. You can also change what style. So we can do halftone or half dots, noise, and then we can play around with blocks, dots, et cetera. So we can fully play around with all this, which I love. And you can fully customize anything about this. Um, you can change the levels here. I can invert it. We can do S-curve, and we can do Tritone. We can do Original, which looks mad. I think that looks really cool. And then we can also add some grain, but I'll leave that out. And what I'm going to do is export that one. And in, you know, just a minute or two, we've created this cool effect. So if you want to apply a certain style to like a branding project, this is one— an efficient way to do this. And then I create like these brand guidelines where you can click on it. And so instead of like hosting this on our website or doing a PDF, we can just create something like this for my clients so they can download all the assets and they can also like open um, PDF file and import their guidelines, and then I can add some tools here. So I don't have a real-life example for that yet, but let's go back to the Pixel Creator. And so once that is installed, as we can see now, we can just create whatever we want. So usually I'll typically use Opus 5. Sometimes I'll get Fable 5 to plan things because it's really good for planning, and then we can change it, the effort to whatever you want. I typically leave it around high. So let's maybe create something that is gonna make some, turn something into a sticker. Like if I add a, you know, icon or something. Let's go. So what I like to do is usually the purpose or the goal of what I'm trying to do. And then I explain the features that I want. And then, so features, you can go features. Now the cool thing is you can also give it reference images, but for this I'm not gonna do that. I just wanna see what it's gonna just to keep this really simple. So let's take a sticker, um, creator that turns any vector shape or image I upload into any vector shape or logo image upload into a sticker mockup. Features should have this. I'm just gonna get the prompt really simple, so I'm gonna go with that and click enter. Um, creator, so I'm gonna go and click this little button here in open in default browser, click that. And I'll just open the browser just so it's easier to play around with. We've got all the controls on the side, as you can see. So we've got an infinite canvas that we can click, and we've got a background as well. So we can turn this off. Background color, we can change it, which is super cool. Maybe we just want like a gray color or something. And look at the resolution scale. We've got the artwork. I'm going to upload a logo, so I'm going to upload this logo from a client that I can zoom in. We can change light theme, dark theme, which is really cool. Now, now what I'm going to do is we can change this sticker. Um, we can change the size, we can change the rotation, and fill seems to not work for some reason. We can swap it. So remember how I said circle, triangle, or square? So that looks really cool. Increase the size of the sticker. We can click and drag. Um, you can include the outline. So for the outline, so outline seems to not work. And then we've got drop shadow. Drop shadow works really cool. So we can do red. And then let's see, we've got PNG and JPEG. I want to upload a texture, so I'm just going to go to my texture packs. There we have it. And I'm going to export this as PNG. And there we have it. So we've got this cool sticker effect. I will have to fix the issues, but just by simply With that simple prompt, we can create something like this. And then when you want to edit, you just go back to— and then I like to use the voice command. So if you press Ctrl+D, you see in the little corner here you've got the voice. Press Ctrl+D, and I'll say, I want you to debug and test the Creator. The outline is not working. Also the, uh, sticker— was it the sticker fill not working? Sticker fill is not working as well. I also want you to fix the offset of the drop shadow. It's not working when you're dragging it. And that works with the colors, the PNG. And I also want you to add a fold effect where you can just turn it on and it'll make the effect fold on the stickers just to make it look a bit more 3D. And then test it, make sure it's all working. So here's the final result. After a bit of tweaking, I was able to create this cool effect with these— all these stickers and designs. So I think this is really fun. Let me know in the comments below if there's something useful. If you want to watch a video on how I create websites using Claude, watch this video right here of me creating a website right in Framer.