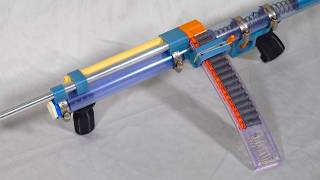
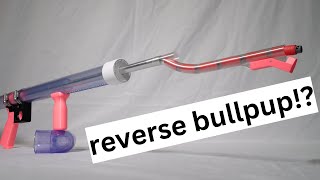
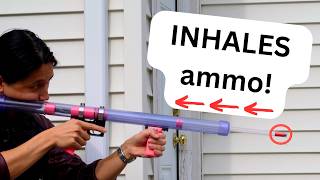
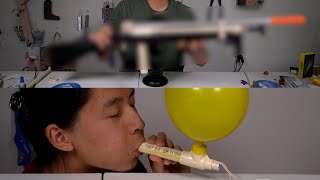
A maker builds a Nerf musket that uses the barrel as a pump tube, starting with a solenoid valve and tiny air tank, then iterating through bigger tanks, longer barrels, and 3D-printed parts to eliminate dead space. The final version fires darts through multiple cardboard targets.
Chapters
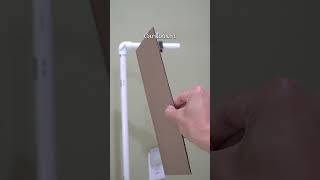
This is a musket that shoots Nerf darts. I'm going to show you how I designed it, how I made it, and at the end, we're going to find out how many British Redcoats it can take down with a single shot. To use a normal air-powered Nerf blaster like this one, you pump it up a few times to pressurize the air tank, load a dart, then fire. Inside, it's got a pump rod, a pump tube, an air tank, and a barrel. But what if the barrel was the pump tube? In that case, you would pump down the barrel, load a dart, then fire. It would look and feel a lot like using a musket. In order to properly control the flow of air between the tank and barrel, I plan to connect them with a solenoid valve. When the solenoid is off, the valve would be closed by a spring-loaded piston, and I could pump air into the tank to build pressure. When I switch it on, the piston would retract and release that air and the contents of the barrel with it. If you're an animator who wants to make better graphics for me in the future, let me know. I bought some plumbing parts and assembled them into this prototype, which had a barrel, a valve, a tiny tank, and a pressure gauge. To make the pump rod, I 3D printed a pump head with a groove that holds an O-ring which seals against the barrel, and attached that to a wooden dowel. At first, pumping didn't create that much pressure in the tank. This was because the fitting that connected the barrel to the valve had a lot of dead space inside of it, meaning that a lot of air wasn't entering the tank when pumping. My solution was to ditch the fitting and simply jam the barrel into the valve as close as possible, using a bit of paper to seal the gaps. And somehow it actually worked. There was enough pressure to shoot a dart out of the barrel with some amount of force when I sent power through the solenoid. Whoa! It was time to shoot some darts through my chronograph to measure their firing velocity. It turns out the firing velocity was kind of bad, even after pumping as much as I could. I didn't bother filming such low numbers, so here's just a clip of me spitting darts through the chrono instead. Okay, so this looks a lot different now because we've made a lot of different changes. First of all, this electric coil, while it is pretty useful and we're probably going to keep it for testing purposes, I found that you can get these permanent magnets that do the same thing. On, off, on, off. So that's nice. The two other things is I just made this whole thing a lot longer. I added a much bigger air tank because the previous one was just not giving me good numbers, and I also added a way longer barrel. So that I can have longer pump strokes, because the pump and the barrel is the same thing. You might also notice that I did have to put this actual fitting back on. That wrapping with paper, like, broke in like 2 tries off camera, to nobody's surprise. But because of this, that means dead space was reintroduced, and so what I had to do was on the inside add this sort of 3D-printed insert. You can imagine this being a whole big empty space,, and I put this in here to remove that dead space. Of course, there still needs to be a channel for air to get pushed out, and so to compensate for that dead space, the new pump head has this really long, kind of phallic-looking bit on it now, but it also just goes in there and completely fills up that space. So there's another copy of this inside, and the pump head, the real one, is right here. With these changes, the blaster was firing much better. 3, 2, 1. So it was time to build a stock for it. I started with an old gun stock, but the solenoid valve didn't fit in it, so I had to modify it a little. Try it. Oh, we'll do it. Okay, we're making progress, making progress. Next up was the trigger. I bought a toggle switch and printed a housing for it, which mates perfectly into the stock near the grip. Then it was time to wire everything together. The switch had screw contacts, which are really easy to use. For the remaining joints, I had to use solder, and boy am I not good at doing that. I struggled to get the wires hot enough to melt the solder, even with my iron set at the highest temperature. Eventually though, I realized that the surface I was pressing the wires onto was pretty much acting as a big heat sink, so not doing that helped a lot. Once the switch, solenoid coil, and power plug were all connected, I tried my best to tuck everything into the stock, and then it was time to test it out. To operate the Nerf musket, first use the pump rod to pump 10 times down the barrel. Your audience might get bored of this, so speed it up in post. Next, flip the pump rod around and ram one dart into the barrel. Finally, plug in the musket to a power source and flip the switch to fire. 3, 2, 1. 1, 2, 3, 4. It landed between 4 and 5. Oh, it went through all of them. You can trace a path. And if we hadn't put the rock back there, For stability. Well, who knows, maybe it would have went through the box. I'm gonna reset it. I have a secret weapon up my sleeve. I'm gonna try again, see if we can make it, make it through the back of the box. I gave one of my darts a pointy hat. Now let's see what kind of damage it can do. Okay, pointy dart in 3, 2, 1. Oh my goodness! Do you see this? Oh my goodness! It's on the— it poked out the other side! That's crazy! That's so cool! This video was inspired by one of your comments, so comment what I should make next, and thanks for watching.