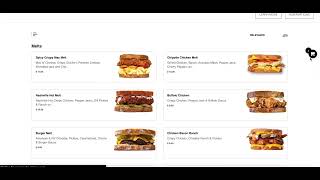
A walkthrough of how to pay with Skipify in SalesVu's ecommerce platform. The tutorial covers adding products, entering contact and delivery info, applying discounts, and completing checkout to reduce cart abandonment.
Welcome. In this video, I'm going to show you how to complete transactions with Scpify Payment in our ecommerce solution. First, your customers will have to go to your website and simply look for the correct location where they will be proceeding with an online order. The next step is simply adding products to the order. Your customers will go through your menu and add the products that they like the most. In this example, we're gonna go with two Nutella shakes. Once your customer is ready adding products to the order, all they need to do is clicking on the shopping cart icon and proceeding to choose. Now. The next step is simply adding all the contact information and also the delivery preference, which in this case is going to be pickup. Now, if we scroll down, there is some other options for adding a discount code and also a gift card. At the very end they need to check the box that allows them to continue with Skipify Faster checkout. Now they need to click on Continue. Here. Your customer will need to add the security code in order to verify their payment details that they were saved before. In here they will be able to see all their payment information, change the payment method, their billing information as well, and add a tip amount. The main benefit is that your customers won't need to enter their cart information when purchasing from your webstore, which will reduce the number of customers who abandoned the cart at checkout because of the number of steps. And that's it. It's very simple and fast to use. And at the very end they will also be asked to read their experience from 0 to 10 and they can also see the receipt. Thank you and let us know if you have any questions.
 eCommerce, point-of-sale (POS), ERP and Data Analytics platform for retail and restaurant businesses