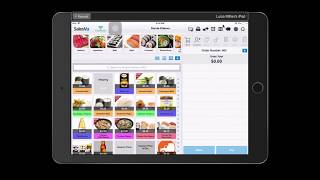
SalesVu's waitlist feature lets restaurants add customers to a queue, manage wait times, notify them when a table opens, and assign seating. This tutorial walks through the step-by-step process.
Hi. In this video, I'm going to show you how to use the waitlist feature with Sales View. First, we're going to go to the table management icon. And now if you want to add a customer to the waitlist, click on the plus icon. Here we're going to select our party size. In this case, it's going to be four people. And now we have to select the waiting time in minutes. I will do 10 minutes. If you want to add any notes, you can do it in here. After that we can select the customer. I will go ahead and look for the customer that I want to and click on select. As you can see here, we have Luisa Milan added to the wait list. We can see it in two ways. If I click here, I can expand it. You will see name, phone number, party size, the waiting time in minutes, the quoted times and the notes. If you added any now, I can also notify the customer. I will go ahead and click here and select yes. At this particular time, the customer has received a text message with the waiting minutes. Let's say 10 minutes have passed and. And now we're going to assign a table to the particular customer. Just click on assign table. Or you can go back and drag Luisa Milan into any table just like this. As you can see here, Table 8 has been occupied and we can start taking the order. Hope this video helps and please let us know if you have further questions.
 eCommerce, point-of-sale (POS), ERP and Data Analytics platform for retail and restaurant businesses