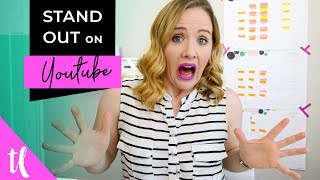
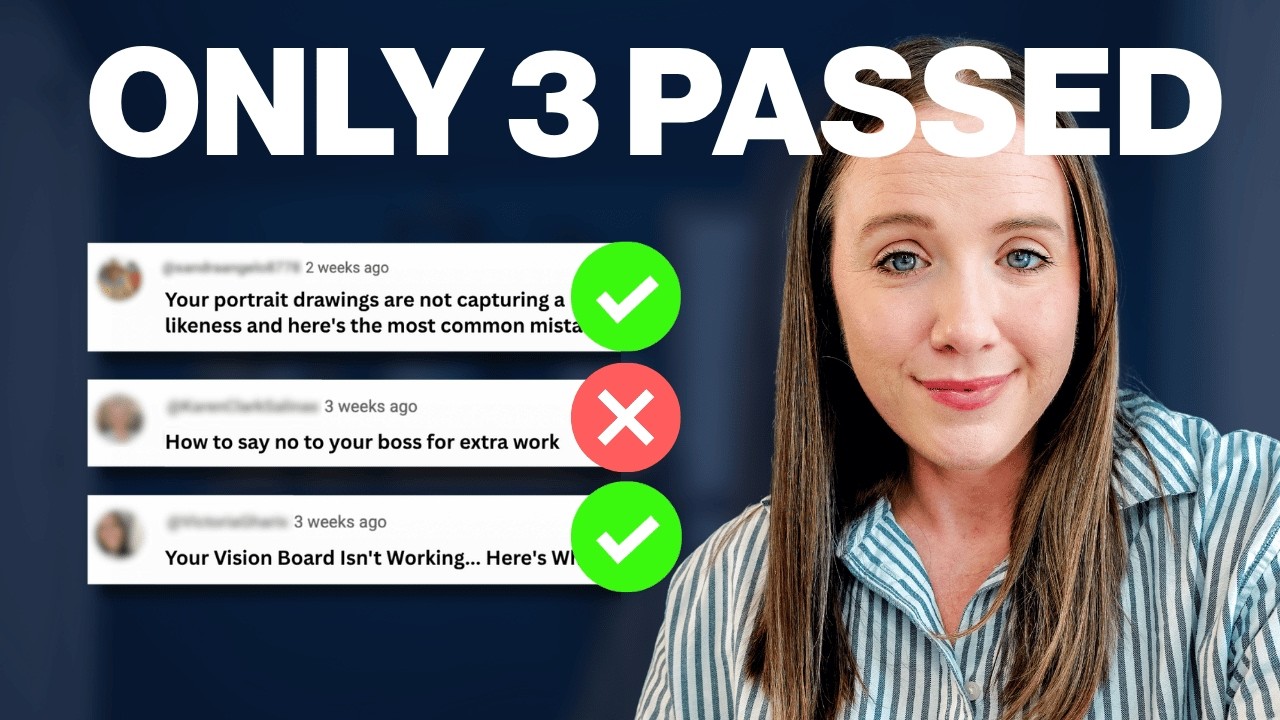
Trena Little walks through making thumbnails in PicMonkey and Canva. Boost saturation around 16, sharpen to 8, brighten eyes, then add a solid background. She saw a 300% jump in views after overhauling her thumbnails.
Questions this video answers
300% increase.
About 16.
About 8.
About 14.
JPEG.
Question for you. How long are you spending creating thumbnails? Or is it just something you hurry up and put up right before you post your videos? What if I told you, just by changing my thumbnails, I increased the views on my videos by 300%. In today's video, I'm going to share with you how you can create thumbnails that pop so you can get more views and more traffic to your YouTube channel. Hi, my name is Trena, and on this channel, I help creative entrepreneurs, entrepreneurs like you get on YouTube to grow your business. And you're going to grow your business if you get more views and subscribers on your YouTube channel. One of the things that's helped me the most get more traction on my YouTube channel has been thumbnails. A lot of times people just throw up a random thumbnail or select the one that YouTube provides them or just put some text on it, repeating the title. But you've got to have a strategy behind your thumbnail, because it doesn't matter if Steven Spielberg films and produces your video. If the thumbnail does not grab people's attention, nobody is going to see the content that you created. Now, I recently hired out my thumbnails to my designer. She's been doing an amazing job, and I've seen views and clicks definitely increase, like I said, by 300%. What I was doing wrong before hiring her was just pointing at text and not really thinking about what I was doing in that thumbnail. I was also using a white background for a while, which did not pop. And I also didn't really have a pop of color to stand out on YouTube, which is a white background, and to stand out amongst all the content on YouTube, you've really got to pop in a way that grabs people's attention. So I'm going to show you how I use PicMonkey and Canva to create thumbnails before hiring my designer and how you can use these two platforms to create templates on for your thumbnails so they can still pop, stand out, get clicks, but it won't take you hours of time to do. So let me show you.
The first thing I do to create my thumbnails is to go to edit here in PicMonkey and I want to upload a photo from my computer. I like to take photos when I do my videos. And so I'm going to go into my camera card here and pull out a thumbnail. We'll do this. Okay, Now I'm going to open it. Okay. Now that it's uploaded, the first thing that I want to do is go to colors. I want to give it more saturation. Highly saturated thumbnails tend to do better on YouTube. So I'm just going to bump up the saturation a little bit, making sure I don't get too orange or my lipstick doesn't get too bright. So I bumped that up to about a 16. If it tends to get a little orange, you can also bump the temperature down. This takes it to a more blue. This takes it to a more yellow. So I want it to just be a slightly cooler. And then I'm going to apply it. The next thing I want to do is sharpen it. Sharp saturated images are what works on YouTube. So I'm going to sharpen this just a tiny bit. I'm going to leave it at about an 8 and apply. So now all the editing to this photo is done. If you have the paid for version of PicMonkey, which is a really great editing program, you can go into all these different extra editing options. Like, let's see, airbrush. So you can take this airbrush, you can feed it just a little bit, make the brush size a little bit bigger and airbrush yourself. See how it just took out those pores? My brush is a bit big, so I could airbrush it a bit. You can fade it more. It gets a little bit fakey or less. I don't want to take out completely my wrinkles. So leave it at about a 14 here and airbrush just a little bit again. This is the paid for version and this is not necessary. You do not have to do this. One neat little trick that I learned is if you go to eye brighten here and let's say, let's make the brush size just a little bit bigger. You want to lighten your background up. You can easily do this with eye brighten. So right now nothing's really changed. But if I slide the lighten up, look how it brightens back there. See the difference? So you could absolutely brighten the background with a little bit of lightening. With the eye brightener, I'm going to click apply. When I'm done, you can see I pretty much stand out more. I'm more saturated and it's more white back here. Now if you see those thumbnails that have solid backgrounds. So what you want to do is go into the wand right here and scroll the whole way down to draw. You can pick whatever color you want. So I'm going to go ahead and grab my color hex code, pop it into the color Here, hit enter. Now I have this pink color and I can basically just trace myself and have just a full pink background. If I would like take this and color it in just so it really pops. So that's the way you can make that solid background. Once you have your thumbnail image done, you're going to go ahead and export it to your computer. And you want to export it into a jpeg, go ahead into canva. And if you go to more, they actually already have a YouTube template for you right here, YouTube thumbnail. And they have a lot of options already for you if this is something that you want to do. So let's say I prefer this template right here. I'm going to go ahead, replace this with my image. So I'm going to go to upload your own image. Now, once you have your image dropped in there, two little tips about thumbnails. One, there's going to be a little time timer over here. That's how long your video is. So you don't want to put anything right here and in this corner. It would be good for you to put some kind of pattern or some kind of branding element in this corner. Just to reiterate to people, this is your video and they get used to seeing it. So I'm going to go ahead and move this text up here, move this text up here. And the pattern I currently use is a triangle in the corner. So you can go over here to shapes, grab a triangle. We're gonna just tilt it a little bit here, add it in that corner, zoom out. And this is my pink. I have some branding elements already uploaded, so I'll go to my logos. Go ahead and make this smaller, pop it in here. And I'm going to say monthly, just a little bit smaller goals. Now if I really want that to pop, you can go back to elements. You can grab a circle, maybe you throw in a circle background here. Want to rearrange it, send it back, back, back. Maybe this is going to be black. And now you can see that your monthly goal lettering stands out a bit more. You can really choose any background that you want. I'm just using this, an example. So now if you save this, you can go ahead and make this template number one. Done.
So then all you have to do.
Is go to file, make a copy, delete this photo and now you can throw in any other photo. I'm just gonna try to grab something from my image library here. Pop this image in there and ta da. That is the exact same template. You just need to change the title and you have templates.
Are you going to be creating your own thumbnails now that I showed you how you can do it? Let me know in the comments below. And if you want to continue to improve your YouTube channel, click the playlist that is on your screen right now. And don't forget to subscribe because I'm giving you new tips and strategies on how you can grow your YouTube channel. Thank you so much for watching and I'll see you in the next video.