Complete Per Diem Settings Guide: Sync Square POS, Fees, and More

Michael Andeji walks through the Per Diem Merchant Dashboard settings, covering Square POS sync, fee configuration, user permissions, and fraud limits for gift cards and store credit.
Chapters
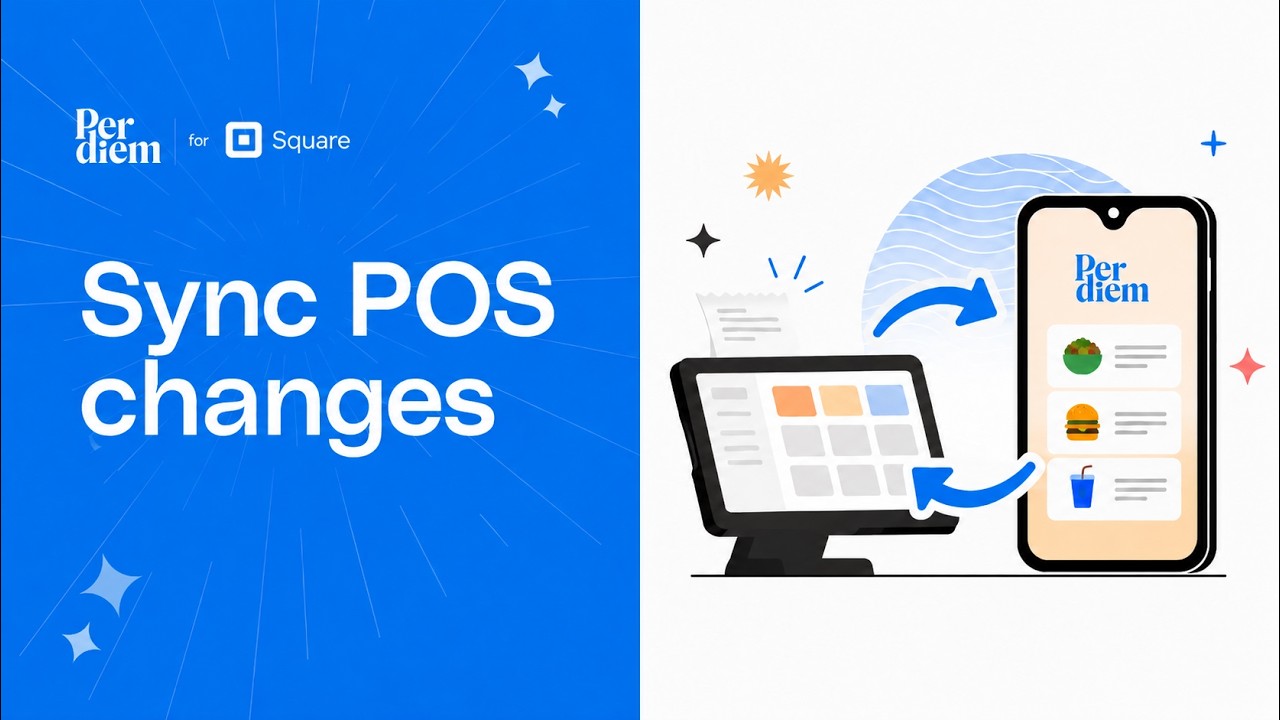
Foreign. Hi, I'm Michael Andeji from Tripodium.com and today I'm going to be showing you all the possible settings that you would likely have to do on the Peridium Merchant Dashboard. So the first thing you want to do when you log into your account is go to the left menu and then you click on Settings. And within Settings there's another menu. We're going to go through each of the items so that I can explain all the different things that you can do within settings. So the first area here is the store details. This is the area where you can make changes to your business information. As of now, the only things that you can make changes to is your business name, the phone number, your email, and then the website for the country and the currency. Those are not editable, so but you can make changes to your phone number and all these other ones. Once you do that, you want to hit the save button so that your changes will be updated. The second area is to sync pos. So what this does is that each time there's a significant change done on your Square Dashboard, you might want to come back to the per diem side and synchronize our system with your Square Dashboard so that we can take all the latest updates that you made changes to on the square side. So there are two areas here, items and categories. And there's also a log so you can see when last synchronization was done and all the breakdown as to what was synced. So once you hit the Run sync button, then it's going to run a sync with your Square point of sale and get all the latest updates from Square. So as you can see, the last time the sync was done was about 10 seconds ago and the total sync was 27. You can also make if you make changes to your location, you can also synchronize just your location and you can get all the recent updates from your square point of sale. Or if you want to do both at the same time, all you have to do is just click on the sync all and it's going to run a sync for both item categories and locations. So that is what this tab is for on the per diem Merchant Dashboard. The next area is Fees and Tips. Within the fees and tips area, you're going to make changes to your service fee as well as the tips. So if you want to make changes to the service fee, there are two areas. There is service fee for pickup and for delivery. And you can decide on whether you want to impose a service fee on your customers for every order placed by toggling on or off this toggle. So if it's turned on, then you have to set the service fee that you would like to charge your customers when they place an order. And if you also want to waive the service fee, you can turn this on or you can turn it off if you do not want to waive service fee. But if you turn it on, then you're going to set a waiver amount. What this does is that when a customer spends up to this amount, you're going to waiver waive the service fee for them. So you can do the same thing for both pickup and delivery. And all you have to do is click on save. As you can see, there is no service fee imposed for the customer when it comes to delivery, but it is imposed for pickup. So you can set it up however you like and just hit the save button and it's done. Now, on your mobile app, when a customer is making a purchase, there are several options for for tipping, there are about three options as well as a custom option for the customer to be able to enter a tipping amount. But you can also set what the three tipping options should be by default in addition to the custom option. So tipping 1 can be 10% tipping 2 can be 15, tipping 3 can be 20. You can set this to whatever you would like. Now you can also set what the default tipping option should be. Should it be 1, 2 or 3? 1 based on your breakdown there or it should be none. So what this means is that if it's 2 by default, 2 will be selected on the mobile app on behalf of the customer and they have the opportunity to change it as well. And once you're done with that, all you have to do is hit save. If you want to disable tipping on your mobile app, all you have to do is turn off this toggle or you can turn it back on. So I'm not going to save that based on the fact that I want tipping to be part of my my mobile app. So that is how you set up the fees and tips on that settings within the merchant dashboard. The next area is security and permissions. So pretty much this is the area where you can change your password or you can log out for this from the system, or you can also set your PoS permissions when you're onboarding for the very first time, we ask for your permission to access your square point of sale so we can get all the relevant information necessary to help your mobile experience be better. So the POS Permissions area is where you can disconnect the connection between the per diem system and your square point of sale. So this is one area that you don't want to be playing with too often, except you really want to disconnect your point of sale from your mobile app. The next area is the user management. Within the user management area, you're able to add new users to your dashboard. So as you can see, these are all profiles that have been created and invited onto the per diem dashboard. So I'm just going to show you how you can add a new user. So all you have to do is click on the top right button here. Add new and you can put the person's details first name, last name, the role if it's the if it's a general manager, if it's a manager or an employee. All of these roles actually have different privileges within the app. So you want to be sure that you're giving the person the right role so that the right privileges will be accorded to them. You can also set the email, the phone number which is optional, and you can set the location for which this user will be added to of course all locations or either of them. Now for the password. User password will be generated automatically and sent to this user via their email. So they get the email sent to them automatically and you can send the invite. And once you do that, that person will be added to the list of users here. And of course they would have access to the merchant dashboard with their own login credentials sent to them via email. The next area is Units and Formats preferences. So this is quite simple. This is where you set your date format and then you can also set what your units should be, especially when it relates to distance. So for the date format you can decide to go with either of these options here and then for the distance unit. For now it's only Miles that is being implemented, so but this is how you can change it in the future where other options will be added. The next area is the Google Review. So if you want to start collecting Google Review for each of your locations or any of the locations within your mobile app, all you have to do is copy the link for for the Google Map for that location and then you paste the link in the field for the appropriate location. So in this case we have a link set for Brooklyn and once you've added the link, all you have to do is click on Save. If you also need help with the Google Review tutorial URL, this is how you can get it. This is a video that you can watch to see how to get the link for that location. All you have to do is click on need help button up here and you would see the video. So that is for the Google review section. Now for the app features. This is where you can also turn on or off certain features on the mobile app. You know, it's been categorized into user authentication preference, order preference, and customization preference. So for each of them, you have different features here. And it's also been explained using the tool tips. So you can go in there and turn on or off whatever feature that you would like to turn on or off. So the final section is payments. And within the payments, you have several options that you can manage. So the first one is the supported payment methods. So first of all, by default, Social payments, which is Apple Pay and Google Pay, is by default implemented on the mobile app. You can also decide whether or not you want to collect debit or credit cards as payment methods. So this is where you turn this on or off based on your preference and then you hit save. And then also for the transaction management, you know, this is how you're able to take control of how you manage fraudulent transactions. So, so you have the risk evaluation level. So this allows you to block transactions based on the risk level of that transaction. So by default, we recommend that you block high risk only transactions. But this is currently set to moderate and high risk. So all transactions with both moderate and high risk status will be blocked. And then there's also the gift card transactions and the store credit transactions. You can decide to manage fraudulent transactions on gift cards as well as store credit. So users can only spend this amount within the stipulated interval. So if you set the amount to $500, users can only spend $500 every 24 hours as long as it is a gift card transaction. And you can also set whether you want to be notified on fraudulent gift card transactions. And you want to block fraudulent gift card transactions. So anything that exceeds $500 within 24 hours will automatically be blocked and you will be notified. It's also the same setup for store credits. Users can only spend $250 every 48 hours. And you can be notified once it exceeds this amount within 48 hours and that transaction will also be blocked. So this is how you can manage transactions that are fraudulent within the per diem merchant dashboard. And once you make changes here, all you have to do is hit save. You can also toggle off gift card transactions. You can toggle off. So stock credit transactions. What it means is that you will not be tracking any fraudulent activity as it relates to gift card transactions and stock credit transactions when these are turned off. So that is how you manage fraudulent transactions on the per diem merchant dashboard and also within your mobile app. Thank you.