Watch Me Fix a SaaS Design in 3 Hours (Step by Step)

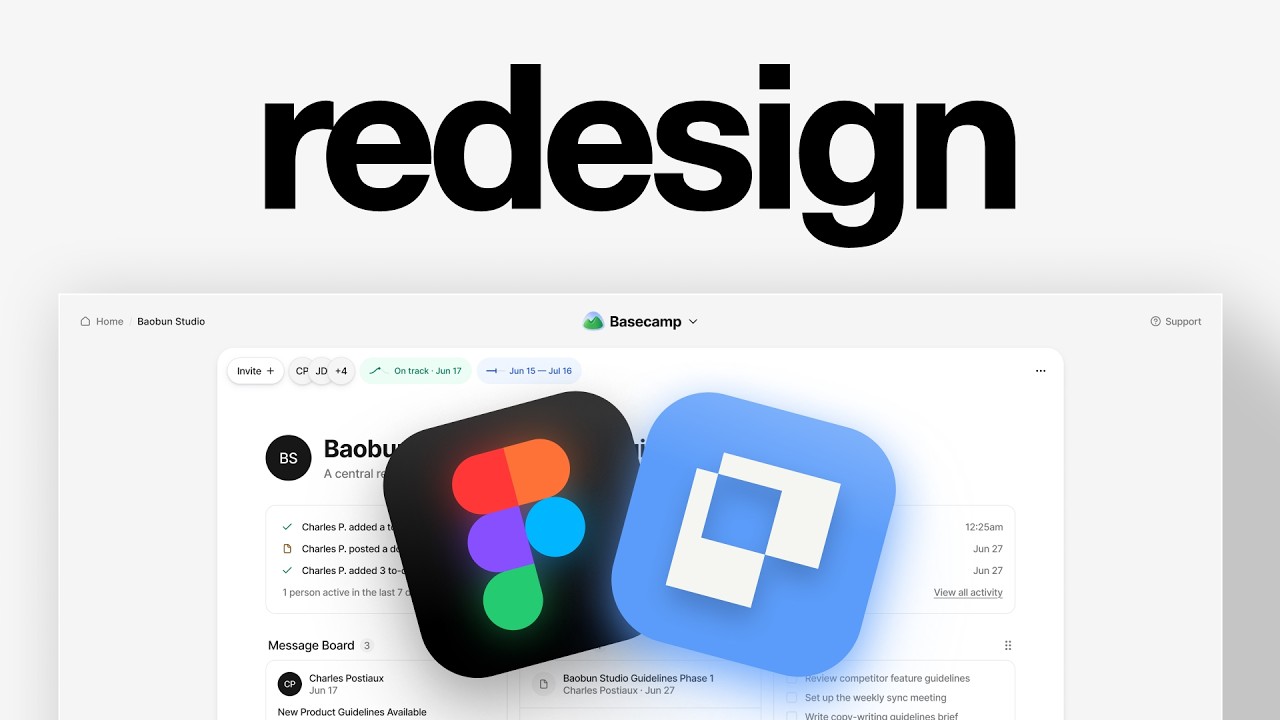
In this tutorial, product designer Charles Postiaux walks through a live redesign of a SaaS screen (Maze) using Figma. He begins by introducing his background and the purpose of the exercise: to demonstrate real‑world product design workflow. After selecting a crowded, three‑column interface from the Maze research platform, he critiques its navigation, spacing, and visual hierarchy. He proposes a redesign strategy that retains the sidebar, streamlines the top bar, and replaces the vertical block flow with a horizontal timeline‑like canvas. Throughout the session he showcases concrete Figma techniques—importing icons from Coolicons and Phosphor, using auto‑layout, setting consistent paddings, constraints, corner radii, and drop shadows, and building a limited color palette. He iterates by duplicating screens to preserve version history, experiments with layout variations, and refines spacing, shadows, and button styles. The video concludes with a side‑by‑side comparison of the original and the final redesign, emphasizing the design decisions made and encouraging viewers to apply the same process to their own projects.
Chapters
In this video, I'm going to find a random screen online and we're going to redesign it together so that I can show you how designing real products actually works and most importantly, how you can do the same. My name is Charles Postiaux. I run barbon.studio. It's a product design studio that has worked with companies worth $200 billion and I've personally earned over $30,000 a month as a solo product designer. First step is to find a product and a screen to redesign. So I'm on mummy.com. It's a great platform to find screens and flows from actual products, which is always great to learn how to build real designs. And to also redesign concepts like I'm doing in this video. All right, so first one that could be good is Maze. It's a user research and testing platform, which I think, and by the look of it, it can get pretty crowded. We also have maybe Care.com. I love the brand. I think the brand and like overall aesthetic of it feels really cool. The product doesn't feel very professional. It's not a critique. I'm just saying, you know, improving, refining the product overall could have a really big impact for them. Then we have also Instacart. I think that could be an interesting product to redesign simply because we don't really do a lot of like e-commerce on the channel. I think Maze could be the maybe most interesting one because we could rethink more about the design. Maybe we can shift a little bit, create a concept that's interesting. It doesn't mean that it's going to be better than the product, but it's just like a different take on it, which could be really cool. And so the first step is just looking at the design and understanding what could be improved and where we can shine with that concept. I think the top section is pretty good. For here, I'm a bit more concerned because support, depending on how difficult the product is to use, or it could just be inside the settings. Product updates could either be at the top here or simply in the settings as well. And explore plans, I think it's part of the studies here and the trial, so I don't think it's super relevant. I'm guessing here, I'm making assumptions. I have not— I've never used the product and I don't know their exact statistics. And so I'm just saying based on my opinion, what I think would be interesting to explore. The screen itself is pretty easy to understand in terms of structure, right? You have like this kind of navigation and where are you on the page. The screen has 3 columns that the user goes through, like a user journey pretty much. This could be actually one canvas and then it's divided into 2. Because so many things are inconsistent, it does feel like it's a lot. So I'm thinking about how do we improve that layout and that experience in a way that could be interesting and relevant for the users that would make it lighter and simpler to go through, but at the same time that feels like a unique asset for Maze. Because ultimately, if you have 3, 4, or 5 different products that are doing the same thing, it's going to be based on the price and on the brand. So how do we stand out with a unique design while still being helpful and relevant for the users? So I think that overall, we should definitely still keep that sidebar The way it is, maybe remove some of that stuff. Because the thing, and I always tell, is that if everything is important, then nothing is important. And so we have to, to some extent, make strategic decisions as to what do we keep, what do we show first, and what do we kind of have to put a step below that people have to click once to see and access. Then for the top section, I'll probably try to clean that up as well because it does feel like really, really wide spacings between the buttons and just takes away too much space for no clear reason. Now for the core experience and the core canvas here, I think what I would like to do and explore is to think about this section here, the blocks that you can add and create this flow. But instead of making it vertical, why not make it horizontal? You know, like a video editing where you have this timeline almost and you have the kind of scenes that could be really unique and cool. You can easily add more steps to it, like the add block here and the last step be on the other side of the screen. And so we could have this nice little fade here like this to show people that there is more and that this is kind of like the end of the screen and to anchor the whole start to finish flow. And then we have the mobile preview here. But for the tabs, I'm wondering if there's a way to have like something like this here where you can toggle between the two instead of having them anchored at the top. I'm wondering for the layout if we want to do something like shop. All right, so next step is to start adding elements to our screen. Let's do 40 for now, and I can start adding some icons. I have 2 library icons. I have Coolicons, which is nice for like general navigation and general icons. And then I have also Phosphor Icons for like every use cases. You have commerce, games, maths, finance, like everything. And so that's more specialized icons that you want. And I think that balance is really good. So we have all of the icons for the navigation, except that little progress indicator. I've put the user profile at the bottom, and then I still need to have the company logo at the top. To get the company logo, you can go on their website, then right-click, inspect, and you select that little icon here at the top. You hover the logo until you see SVG, then you go in the code and see it. Right-click, copy, first one, copy element, and that should be good. We have the whole logo. I'm just going to select nice visual, copy and put it here. Then I'm going to select all of them, Shift+A to auto layout, and then we can do 16 of paddings, make them match the height, and in constraint I can do top and bottom so that It scales with the screen, as you can see. I don't care so much about the colors. All I want is to have some consistency. Actually, this could be C, so that it's easy for me later on to update the color palette and make something unique without having, you know, 20 different colors to update. Now the next step is the top navigation. So for consistency, I would need to reuse the same frame size. I'm wondering if this shouldn't be toggled instead. They are separate steps in my opinion. Something like this could be nice. And then we can make a nice little drop shadow. And then we could have those over here. The sidebar is done. The top bar is done. Now I want to work on this timeline or block construction for the flow of the prototypes. That could work. We could try maybe 12 everywhere. We need to anchor it at the bottom as well. Maybe 248 is good. And then we need to add those like study requirements and those 2 icons. Then we can Auto, we have those 2 together, auto layout all of that just to make sure it's clean. We add this as well with auto and then auto layout this one and add 16 of paddings. Then we can keep it at bottom and then constrain left and right. And then the last step is to work on those 2 columns, the preview and then the prototype description. This one we actually need to remove the padding here. The sidebar already has the padding so we don't need to add an extra padding on top of it. We already have the 16 pixel. But maybe we can remove this line here and improve that a little bit. I think the line is still nice to create that natural divider between the canvas and the timeline, which might not happen if we show them right next to each other, but it might create more connection if they're next to each other. So I'm just going to duplicate it. That's always something I recommend is every time you have a new, like you can see here, I retrace all of my steps. Like every time I have a new idea, a new iteration I want to make, or it's like next step in the process, I duplicate my screen and move on to the other one. So that I have this visual history of what I did and I can always go back to the previous step. That's pretty cool. I think I would go with this and we'll see later on when we add more visuals and colors if this feels better or that feels better. Let's make a screen first, then add the image. We'll have to make sure the padding is correct and we need the toggles for preview and testing like that. I'm a bit shocked because we have literally so much space. I'm not even sure what we want to do with that. Like even if we bring back all of that, huh, that actually looks also nice. So I'm wondering if we don't do that instead. Something that while I think about it, we could try also is what if we flip those? Or again, another version of this is we flip those back. I think we have a lot of options here. I do like this one more because it's cleaner, but I get the benefit of the other ones like this. Let's try to tap the content and we'll see what we come up with. We can make a square here for the card, add a little background here, then we can copy that here. 8 of Paddings like that, a little drop shadow. I'm not a big fan of the layout overall of this. This one we can auto as well. We can maybe do 620 for now. Then this here, that's pretty basic, but like what else can you really do about it? This might work slightly better just because there is a clear outline. 160, center. Then we can duplicate it, select both 12, auto layout, and then we can make it horizontal, something like this. And this one, we remove that, BC, and we increase the outline by maybe 1. And Shift+A for that. Also, we need to reuse the same design element that we had before. We can make a frame as well. Luckily, the indicator is smaller than the frame for all the icons, so that's perfect. Then we need to flip those, so 160, like that. And something else I'd want to try is to actually, again, ignore the auto layout for this and put that Maybe at the top here. And what if we remove that? I like that. A bit different, but still nice. Okay, let's have this here. And then task position settings is going to be the last one that we have the space to do. So that's nice. There might be like a title here that I don't see. Oh yeah, there are a lot of stuff that I didn't add. Oh, okay. Okay. I see. So you lead the prototype with Figma, then you can set the prototype here and then you have task and description at the top. So we pretty much are missing the, all of that. So this should be minimized because you scroll down to access that like that. And then we have those 2 at the top here centered. Good. So this is prototype and then we have more stuff above, but it's fine like this. Then we can add spacing. That's pretty nice. I like it. And maybe we could have a badge from Figma. I'm going to keep it just in case. Okay, so we have laid out everything from the screen, the original screen that we found. Now it's going to be about adding some life to it, some colors and improving the layout a little bit, the design and aesthetic. First of all, I think I prefer the one we had before. This one, probably. I think it might give us a bit more space to work with, like more room to breathe. It could be like that. Yeah, that might be a bit better. And I'm even wondering if we could actually, if we should actually keep it the way they have it. That could also work. They have those colors that maybe we could use on the website. They also have their blue, a very light blue, maybe too light. And I think that's about it. They have a second blue here, but Yeah, something like that. Let's have this one. So these are the colors that we have right now, the color palette, which is nice because again, there are not that many colors. So it's a lot easier to figure something out. We could go with something like this. Just improve a little bit the paddings. And this could be, we could have it right here, the refresh thing. I don't even know where we left it. Or I deleted it. Oh, here. And here we could have the Figma logo that I've placed here. Something like this. I could also have the description. That they have here like that. So everything should be good. We need the paddings on the right and at the bottom. And then we can auto layout the top, like the vertical ones. And then we can also auto layout the entire screen. Now let's finally add some colors. They do have this one that could be nice. Do they have the sun cup? We have it here. And then a user. And then maybe something like this. Like this is nice. I would probably add Maybe make those have a bit more corner radius. You can have a little drop shadow as well, like I did at the top here. Make it look nicer. What if we do 16 of padding? 16 is better, I think. Like that. Then that's good. We can also do the refresh. You can actually change the black to 1A. And then we have those here. Select the states. This is good. They also do this for the top navigation or not? Like 16, and then what do we have? Oh, then we can remove those and we can add for this one. Is this too much? Are we pushing a bit too far on this? That's one way. Another way would be to connect everything. So pretty much remove all the corner radius. This one we only have left and right. We can add again one here. This one is the main corner radius one. That's another version. Or we combine them together. So like 0, and then I do that in the corner radius at the bottom. Remove this one at the bottom as well. We went full circle and we came back to what we started with almost. Like if we look at this, it's pretty close and connected, but it does look good. And I have a drop shadow here. Just need to clean a bit that up so it looks nice. I don't like this. I'm going to remove it. And this one we can put it there. Oh, we do have the space maybe to put it in between. Increase it a little bit more. This one's the right size. This one's good. It feels a little much. We can add the drop shadow to start testing. And maybe this should be the secondary button like that. I think that looks better. Should those be also with the background color or not? This looks pretty nice as well. I think we slightly improve also the 6 to be more blue like that. Oh yeah, that's nice. Maybe we can improve a bit the design. Is it that? Actually not. Yeah, we could do like this. The problem is here. Maybe this one we don't. That's pretty cool. All right, so this is the screen we started with and this is the redesign. Thank you so much for watching this video. Make sure to leave a like and subscribe and I see you for the next one. Bye.