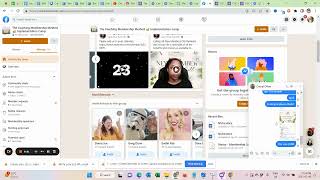
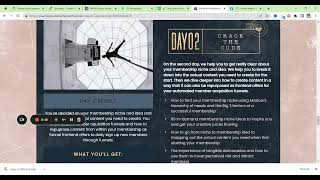
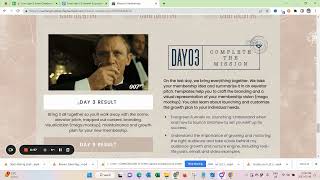
This transcript is a step-by-step walkthrough (by Saleh Amiralai) of creating a temporary "challenge" or "pop-up" Facebook group to host a live launch. The speaker advises creating a new public, visible group (if an existing group is too new or unengaged), adding a bold promise and challenge dates to the description, including the signup link, updating the banner to match signup branding, admitting members the evening before the challenge, assigning team members as moderators, and using Admin Assist to set auto-approval (after initial manual admits) to avoid bots/competitors. Promotion is done via social posts, stories, and email.
Chapters
Okay, so the next step is to create a challenge pop up group. If you've been going through zero to audience and you have a relatively new group, so you just started this for the sake of building your audience and you have been consistent with nurturing for, you know, no longer than eight weeks because we also don't want the group to be out of this first initial momentum, then you can have your life launch event in that zero to audience group. If you don't have that, if you started your group longer, if it's not really engaged, then I highly recommend that you create a separate pop group just for the purpose of the challenge. And pop up group sounds fancy, but it is nothing else than a new Facebook group you create. So you'd want to go to the desktop version, go to groups.
Your groups, create a new group.
Then you would want to.
Come here and say.
Live launch.
Name.
Three days, two.
And then outcome.
Then you would want to make this a public group. Now I have to be careful. And then you would want to say create.
Then the next step is to come here.
This is a public group. Then this needs to be on visible. And then you would want to give this your live lounge name. So you have a custom link.
Then you would want to put your bold promise and challenge dates in here in the description.
So let me just actually do it. So.
Now let me go to the group that I prepared.
For this particular launch.
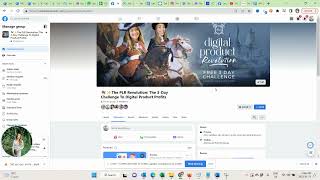
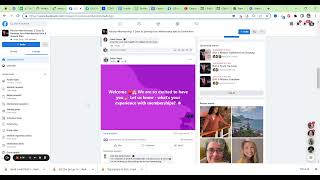
So you can see I already prepared this group. I can come to the settings.
Description. So I will put that here, mission membership.
Then it will be open seven days.
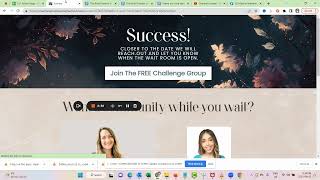
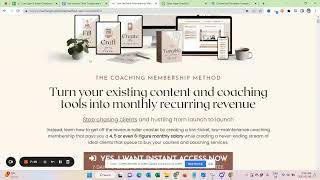
And then also put the link to your page in here because some people might stumble over it and not know how to sign up.
Sign up to join for free now. Okay.
And then the only other thing you need to do is to update your banner here to kind of be the same as in the signup page. So you have just a cohesive look and feel. I typically don't let people in before the evening before the challenge starts, so they can just start introducing themselves. The people you see in right here is just my team. So they're all in here. And some of them are made moderators so they can help throughout the challenge. But this is basically how you'd set it up. On the day of the challenge, you let people in. And after that what you would want to do is there's admin assist and then you can approve member requests if the account is, for example, older than six months. And I highly recommend, because sometimes you get competitors, sometimes you get bots, but if you set it to that, you can then just have the group on auto approve after you initially let people in. So don't do this right now. Do this after you let the first bunch of people in on the day before the challenge started and then to just auto approve everybody who joins. Throughout the challenge, through the social media posts you make, the stories you make, and the emails you send.