Level 2 Teacher Training
A walkthrough of Vivi classroom app Level 2 features for teachers: playing content to the classroom display, sharing camera feeds with annotation, managing student access and control, capturing and collaborating on student work, and streaming the display to individual devices. Covers UI navigation, technical limits like protected content and audio, and security reminders like revoking student control after use.
Chapters
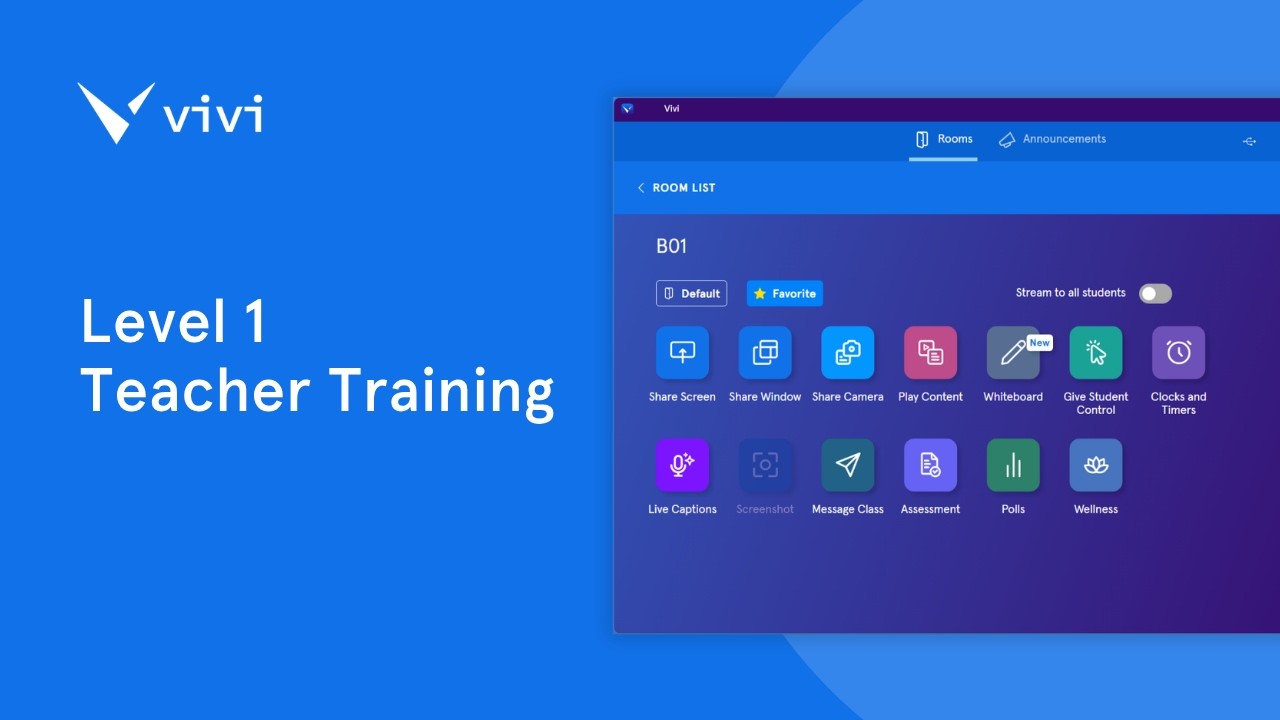
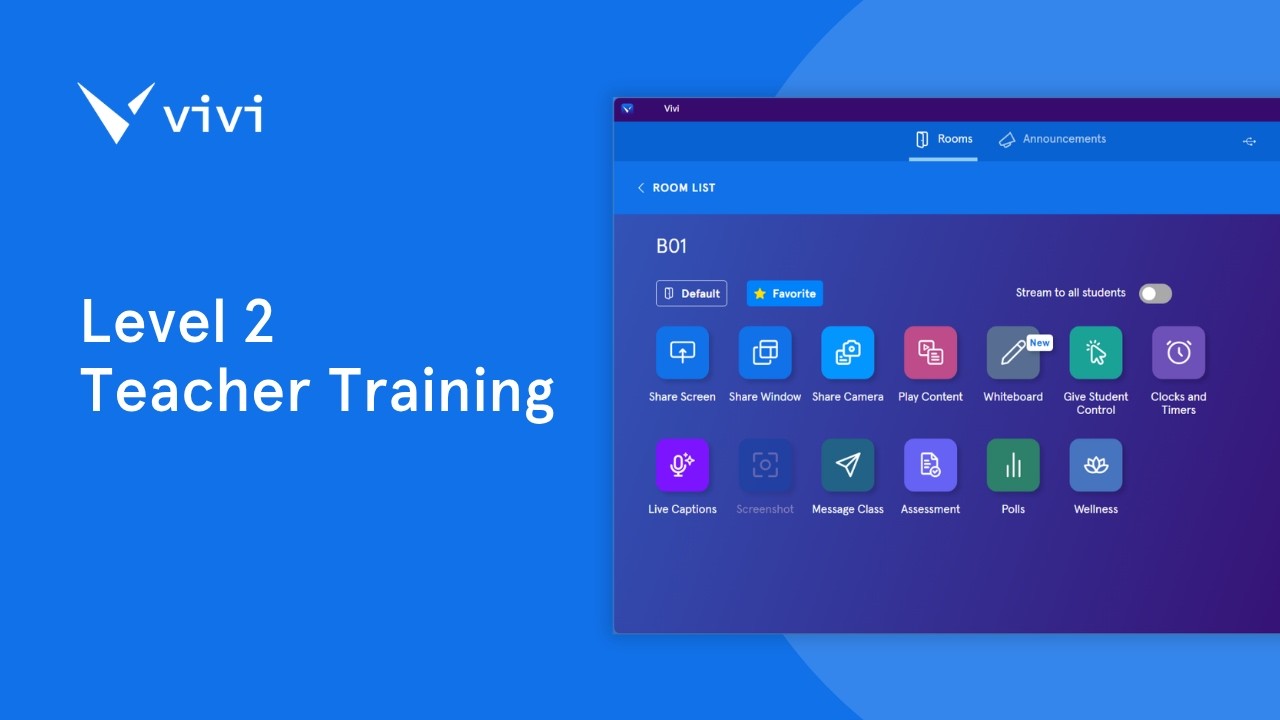
Welcome to Vivi Level 2 training. In Level 1, you learned how to connect to a room and share your screen. Now we'll build on those foundations and start opening your classroom up to your students. Across this session, we'll cover 5 things: playing content like videos, slides, and PDFs straight to the display, Sharing a live camera, connecting your students so they can share their own work, giving students their own way to screenshot and annotate, and streaming the display to student devices. One quick reminder before we dive in, we're using the installed Vivi app on a laptop throughout. Let's get started! Let's start with Play Content. This feature sends your teaching resources straight to the classroom display, while you carry on working on your computer. You can play open-source video links like YouTube and Vimeo, along with saved video and audio files, images, PDFs, PowerPoint, and Google Slides. Streaming a video this way gives a sharper picture than Share Screen, and it strips out ads and suggested content. One thing to note, protected content, so anything behind a login, a subscription, or a paywall, won't play here for legal reasons. For those, Share Screen is your best option. To begin, select Play Content from the Vivi app homepage. To play an online video, copy the link and paste it into the box for links. You can choose Play Link to play a single video or build a queue by selecting Add to Queue. To keep adding resources, select Add Content, paste the next link, and choose Add Links. When your queue is ready, choose Play from Start to run it from the beginning, or select an item and choose Play from Current to start there instead. Give it a moment. You'll see Loading Video and Checking File on the display before your content streams across. Once content is playing, A set of controls appears along the bottom of the Vivi app. From left to right, you'll find the slider to move through the video, the video name, stop, the back and forward skip buttons, pause, and privacy mode, which stops students screenshotting the display. Then come the elapsed time, closed captions, volume, show queue to see what's coming up, and the mini player. While content plays, you're free to use your device for other jobs, like taking the roll or checking email. Just minimize Vivi, and it won't affect what's on the display. When you're done, select Stop All in the top right, then Back or the Home icon to return to the home page. Alongside links, you can add files to build a full lesson. Select Browse Files to find a file on your device, or simply drag and drop it in. To pull a Google Slide or another file straight from Google Drive, select Google Drive in the lower right and sign in once to link your account. After that, Vivi keeps you connected, so you can pull files straight from Drive without downloading them to your device. Choose your files and select Add to Queue. Slides load one at a time, giving you more control without changing the original. Just remember your linked files live in your Drive, so if you edit or delete them there, that flows through to Vivi. If you'd like to reuse a queue, select Save as Playlist in the top right, give it a name, and choose Save Playlist. Your playlists then appear down the left-hand side, ready for next time. A couple of reminders: there's no limit on how many playlists you keep or how long they are. But a deleted playlist can't be brought back, and playlists can't be shared with other VeVe users inside VeVe. Last in this module is the mini player. While content is playing, select the mini player icon in the bottom right. This shrinks play content into a small floating window so you can multitask, with stop, skip, pause, and volume controls along the bottom. Hover over it for more options. The expand icon in the top left returns you to the full app, and privacy mode sits in the bottom right. Next is Share Camera, which sends a camera feed straight to the display in a single click. That could be your device's built-in webcam, or an external webcam or document camera plugged into your laptop via USB. Handy for showing a book, a worked example, or an experiment up close. From the VeVe app homepage, select Share Camera, and the camera goes straight to the display. You'll see a full-screen preview on your device. Select Back in the top left to step out of the preview while the camera keeps sharing. The controls in the top right let you exit full screen, stop sharing, start a share screen timer, or pause the feed, and the controls in the bottom left let you annotate a snapshot or switch on movie mode or privacy mode. If you have more than one camera, switch between them using the dropdown in the center of the preview. And you can move between Share Camera and Share Screen at any time. Select Back, then Share Screen, or from Share Screen, select Home on the floating toolbar and choose Share Camera. Now let's bring your students in. Everything from here builds towards letting them share their own work to the display. Students log in exactly the same way you do. They open the Vivy app, choose your organization, and if your school uses a single sign-on service, they select Log In and enter their school email and password. If single sign-on isn't set up, they select Sign Up, register with their name and email, create a password, and then select I'm a Student. One important note: never give students the presenter code you used as a teacher. Because that code unlocks the full teacher controls. Once they're in, students pick the right room and select Join Room, just as you learned in Level 1. They can set favorite and default rooms too, to make connecting quicker next time. Remembering a default room can only be set once they're connected to it. With students connected, you can let them share to the display, and you stay in full control the whole time. Granting or revoking access whenever you like. Sharing can begin in one of 2 ways, and both are in your hands. The first is when a student asks— they select Request Control. Think of it as a virtual hand-up which signals they'd like to share but grants nothing until you approve. The second is when you assign control to a student yourself without them needing to ask. Either way, open Give Student Control. Students who've asked appear under Control Requests, and everyone connected appears under Students in Room. To turn a request down, select the minus icon next to their name. To let a student share whether they asked or you're offering, select anywhere on their name, and they'll be given control, with their own sharing toolbar just like yours. Before you say yes, you can take a look at what a student is about to show. On the Give Student Control page, select the preview icon, the eyeball beside the student's name. A preview pops up on your app. If it's off-task, select Deny, and they won't be able to share. If it's good to go, select Share Screen, and their content goes to the display with the student in control. When a student is finished, it's important to revoke control. Select the X next to their name to stop their sharing straight away. If you don't, they keep access to the extra app features and can start sharing again. You can also select Stop All in the top right to end all sharing and revoke control at once. Once you've done that, the student drops back under Students in Room. Ready to share again whenever you like. Vivi can also show up to 4 screens at once with split screen— any mix of students, presenters, and yourself. To use it, select the quadrants icon next to a student's name, then choose which quarter of the display to place them in. Repeat for up to 4 people, and you'll see who's where on the left-hand side. To add yourself, select the Home icon and briefly hold Share Screen, then pick your quadrant. If fewer than 4 are sharing, the empty quarters simply show black. To wrap up, you can revoke control for each person or select Stop All to clear everyone at once. Students have their own ways to capture and work with what's on the display. Just like you, Once someone is sharing, a student can select Screenshot to grab whatever's on the display. It saves automatically as a JPEG into a Vivy folder inside Pictures on a laptop or Chromebook, or the camera roll on a phone or tablet. From the popup, students can also select Annotate to open that screenshot on the whiteboard and mark it up with the full set of tools. Students also get the same whiteboard you do. They select Whiteboard from their app for a blank board, with all the templates, image backgrounds, and PDF uploads you'd expect. Rather than always screenshotting, you might guide the class to build boards alongside you. Students save their work from the More Options icon in the toolbar and can ask to share using the Request Control icon in the top right. Note, you won't see a student's board unless they share their screen or send it to you. A quick reminder about Privacy Mode, which you met back in Level 1. There are moments you'd rather students didn't screenshot the display— reviewing test questions, for instance. Privacy Mode simply switches off screenshotting for students. You'll find it in the expanded floating toolbar while you're sharing, along the bottom of the room's homepage in the web app, or in the video controls when you're using Play Content. Our last feature is Stream to Students, which sends whatever's on the classroom display straight to your students' own devices— a real help for anyone who finds the display hard to see. To switch it on, toggle on Stream to All Students. It works when you're sharing through Share Screen, Share Window, or share camera, including the whiteboard. Do note that audio doesn't stream to devices— sound still comes through the display or your speakers. To turn it off, just toggle it back off. On the student side, students select Classroom Stream from their app homepage. Remember, this only appears once you've toggled the stream on. If nothing's being shared yet, they'll see Waiting for Stream to Start. Once you begin, the content appears live on their device. From there, they can go full screen with the arrow in the top right, annotate a snapshot with the pencil in the bottom left, or leave the stream by selecting Back in the top left. And that's Level 2. You can now play rich content to the display, share a live camera, bring your students in to share their own work, Let them capture and annotate what they see, and stream the display straight to their devices. That's a real step towards a genuinely interactive classroom. Your next step is Level 3, where you'll explore VeVe's student engagement tools— things like assessments, polls, and timers to check understanding and keep your class involved. So, keep an eye out for that. Thanks for learning with us! And happy teaching!