Learn how to create and customize page views in SureFront by adding fields, choosing field types like text or dropdown, setting defaults and limits, and rearranging them with drag-and-drop. Control which fields show up across different catalogs and categories, and remove fields from views without deleting them.
Chapters
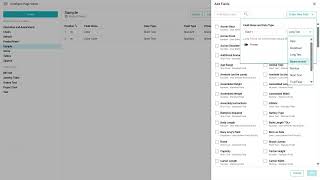
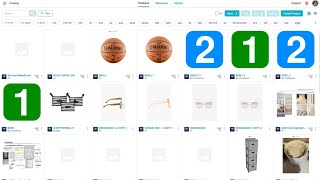
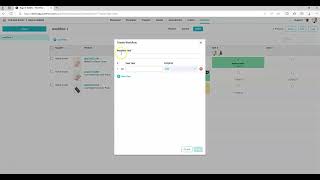
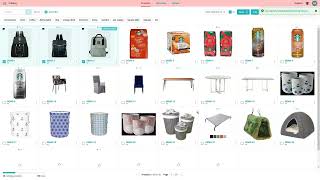
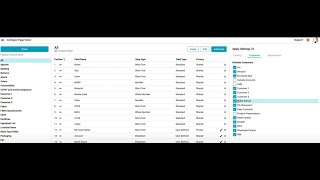
With SureFront, you're able to customize those views to best fit your company's needs. To begin, select Page Views along the left-hand side. You can select from pre-existing page views, such as the ones listed besides Default. You can select Defaults to add page views to, or you can create your own page views. To create your own page view, click Create. Give your page view a name. Choose where you want to view your page view. We're going to choose Product Details. Click Submit when finished. You can see Sample Page View was created. We're going to add field. You can select from pre-existing fields created by SureFront. They are listed alphabetically. Scroll down or type within the box. Select your item or items. Click Add. If you would like to create your own fields, select Add Fields. You can click Create New Field. You can give your field a name. And then you can select which type of field you would like. The default is short text. You can choose from date, dropdown, and then add your values. You can make your first value default by toggling. You can choose a long text, which will give you a bigger text box. You can select measurement Select the type of measurement you want to use, Area. You would select your measurement unit from the dropdown list. In your choices of default value and maximum character length, you can select a Short Text, which is a single line text box, True/False, you can have a default value again of True, False, or None, or you could do a whole number. Meaning no decimal points. You can add a maximum character length. You can also toggle private to make this an internal-only field, not shared with outside customers or suppliers. Click Save when you're finished. Once you've created your fields, select your fields, click Add in the bottom right-hand corner. If you'd like to rearrange your fields, hover over the three lines and a hand will appear. You can drag and drop as needed. Along the right-hand side, you have options of where you want it to appear in your catalog, if anything. If you want it to appear everywhere in your catalog, select All. If you don't want it to appear in your catalog, unselect All. If you want it to appear in certain categories or subcategories, select the lowest level. Subcategories will only select subcategories. You select a category, anything below it will automatically be selected. You can do the same thing with customers. Departments is your product lifecycle management departments. Any field listed that has a pencil can be edited. These are your user-defined fields. If this field was a short text and you no longer wanted it to be a short text and you wanted to change it to a dropdown, You would simply change your field type to dropdown, add your field values, and click Save. If you no longer wanted a field to appear, you can click the X next to the field name. Please note this does not delete the fields, it simply removes it from this page view. If you would like a user-defined field "Permanently deleted. Please contact customer support" with the name of the fields. And then we can go to the catalog to view it. Here's Field 1 and here's Color.